

Samsung LE32R87BD - User Manual_46.82 MB, pdf, ENGLISH, DANISH, FINNISH, NORWEGIAN, SWEDISH
Samsung LE32R87BD - User Manual_46.82 MB, pdf, ENGLISH, DANISH, FINNISH, NORWEGIAN, SWEDISH
Samsung LE32R87BD - User Manual_46.82 MB, pdf, ENGLISH, DANISH, FINNISH, NORWEGIAN, SWEDISH

You also want an ePaper? Increase the reach of your titles
YUMPU automatically turns print PDFs into web optimized ePapers that Google loves.
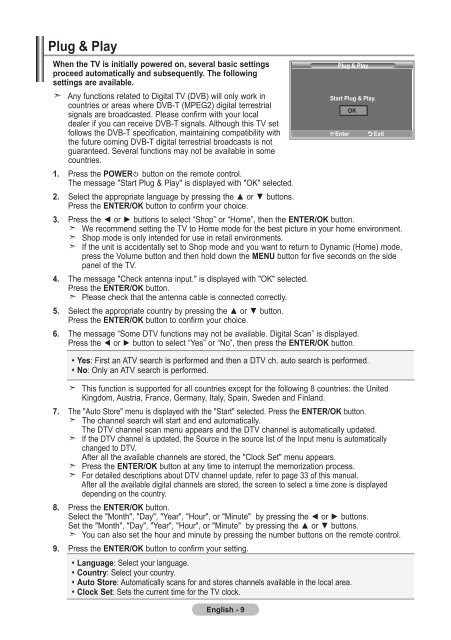
Plug & Play<br />
When the TV is initially powered on, several basic settings<br />
proceed automatically and subsequently. The following<br />
settings are available.<br />
Any functions related to Digital TV (DVB) will only work in<br />
countries or areas where DVB-T (MPEG2) digital terrestrial<br />
signals are broadcasted. Please confirm with your local<br />
dealer if you can receive DVB-T signals. Although this TV set<br />
follows the DVB-T specification, maintaining compatibility with<br />
the future coming DVB-T digital terrestrial broadcasts is not<br />
guaranteed. Several functions may not be available in some<br />
countries.<br />
1. Press the POWER button on the remote control.<br />
The message "Start Plug & Play" is displayed with "OK" selected.<br />
2. Select the appropriate language by pressing the ▲ or ▼ buttons.<br />
Press the ENTER/OK button to confirm your choice.<br />
3. Press the ◄ or ► buttons to select “Shop” or “Home”, then the ENTER/OK button.<br />
We recommend setting the TV to Home mode for the best picture in your home environment.<br />
Shop mode is only intended for use in retail environments.<br />
If the unit is accidentally set to Shop mode and you want to return to Dynamic (Home) mode,<br />
press the Volume button and then hold down the MENU button for five seconds on the side<br />
panel of the TV.<br />
4. The message "Check antenna input." is displayed with "OK" selected.<br />
Press the ENTER/OK button.<br />
Please check that the antenna cable is connected correctly.<br />
5. Select the appropriate country by pressing the ▲ or ▼ button.<br />
Press the ENTER/OK button to confirm your choice.<br />
6. The message “Some DTV functions may not be available. Digital Scan” is displayed.<br />
Press the ◄ or ► button to select “Yes” or “No”, then press the ENTER/OK button.<br />
This function is supported for all countries except for the following 8 countries: the United<br />
Kingdom, Austria, France, Germany, Italy, Spain, Sweden and Finland.<br />
7. The "Auto Store" menu is displayed with the "Start" selected. Press the ENTER/OK button.<br />
The channel search will start and end automatically.<br />
The DTV channel scan menu appears and the DTV channel is automatically updated.<br />
If the DTV channel is updated, the Source in the source list of the Input menu is automatically<br />
changed to DTV.<br />
After all the available channels are stored, the "Clock Set" menu appears.<br />
Press the ENTER/OK button at any time to interrupt the memorization process.<br />
For detailed descriptions about DTV channel update, refer to page 33 of this manual.<br />
After all the available digital channels are stored, the screen to select a time zone is displayed<br />
depending on the country.<br />
8. Press the ENTER/OK button.<br />
Select the "Month", "Day", "Year", "Hour", or "Minute" by pressing the ◄ or ► buttons.<br />
Set the "Month", "Day", "Year", "Hour", or "Minute" by pressing the ▲ or ▼ buttons.<br />
You can also set the hour and minute by pressing the number buttons on the remote control.<br />
9. Press the ENTER/OK button to confirm your setting.<br />
Language: Select your language.<br />
Country: Select your country.<br />
Auto Store: Automatically scans for and stores channels available in the local area.<br />
Clock Set: Sets the current time for the TV clock.<br />
English - <br />
Plug & Play<br />
Start Plug & Play.<br />
Yes: First an ATV search is performed and then a DTV ch. auto search is performed.<br />
No: Only an ATV search is performed.<br />
Enter<br />
OK<br />
exit


