FCD-2400I
FCD-2400I
FCD-2400I
Create successful ePaper yourself
Turn your PDF publications into a flip-book with our unique Google optimized e-Paper software.
GB<br />
D<br />
NL<br />
F<br />
E<br />
P<br />
I<br />
S<br />
FIN<br />
N<br />
DK<br />
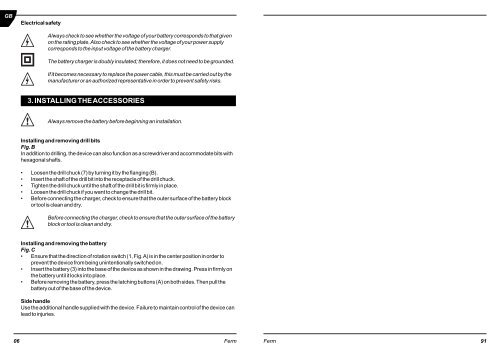
Electrical safety<br />
Always check to see whether the voltage of your battery corresponds to that given<br />
on the rating plate. Also check to see whether the voltage of your power supply<br />
corresponds to the input voltage of the battery charger.<br />
The battery charger is doubly insulated; therefore, it does not need to be grounded.<br />
If it becomes necessary to replace the power cable, this must be carried out by the<br />
manufacturer or an authorized representative in order to prevent safety risks.<br />
3. INSTALLING THE ACCESSORIES<br />
Always remove the battery before beginning an installation.<br />
Installing and removing drill bits<br />
Fig. B<br />
In addition to drilling, the device can also function as a screwdriver and accommodate bits with<br />
hexagonal shafts.<br />
• Loosen the drill chuck (7) by turning it by the flanging (B).<br />
• Insert the shaft of the drill bit into the receptacle of the drill chuck.<br />
• Tighten the drill chuck until the shaft of the drill bit is firmly in place.<br />
• Loosen the drill chuck if you want to change the drill bit.<br />
• Before connecting the charger, check to ensure that the outer surface of the battery block<br />
or tool is clean and dry.<br />
Before connecting the charger, check to ensure that the outer surface of the battery<br />
block or tool is clean and dry.<br />
Installing and removing the battery<br />
Fig. C<br />
• Ensure that the direction of rotation switch (1, Fig. A) is in the center position in order to<br />
prevent the device from being unintentionally switched on.<br />
• Insert the battery (3) into the base of the device as shown in the drawing. Press in firmly on<br />
the battery until it locks into place.<br />
• Before removing the battery, press the latching buttons (A) on both sides. Then pull the<br />
battery out of the base of the device.<br />
Side handle<br />
Use the additional handle supplied with the device. Failure to maintain control of the device can<br />
lead to injuries.<br />
06 Ferm<br />
Ferm 91<br />
GB<br />
D<br />
NL<br />
F<br />
E<br />
P<br />
I<br />
S<br />
FIN<br />
N<br />
DK


