Instruction Manual - Bushnell
Instruction Manual - Bushnell
Instruction Manual - Bushnell

You also want an ePaper? Increase the reach of your titles
YUMPU automatically turns print PDFs into web optimized ePapers that Google loves.
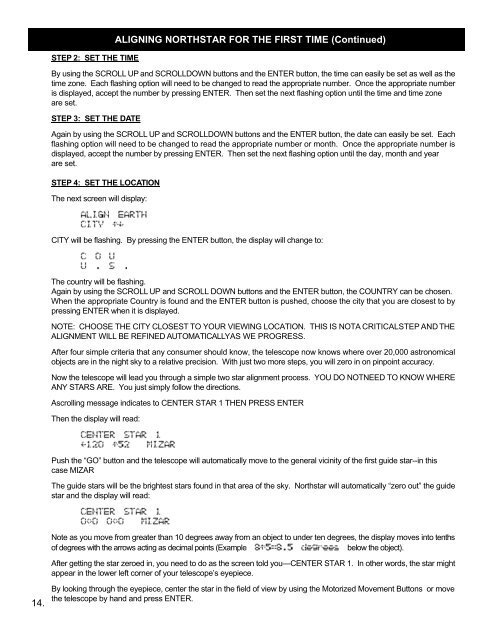
14.<br />
S T E P 2: SET THE TIME<br />
M ALIGNING NORTHSTAR FOR THE FIRST TIME (Continued)<br />
By using the SCROLL U Pand SCROLLDOWN buttons and the ENTER button, the time can easily be set as well as the<br />
time zone. Each flashing option will need to be changed to read the appropriate number. Once the appropriate number<br />
is displayed, accept the number by pressing ENTER. Then set the next flashing option until the time and time zone<br />
are set.<br />
S T E P 3: SET THE DAT E<br />
Again by using the SCROLL U P and SCROLLDOWN buttons and the ENTER button, the date can easily be set. Each<br />
flashing option will need to be changed to read the appropriate number or month. Once the appropriate number is<br />
displayed, accept the number by pressing ENTER. Then set the next flashing option until the day, month and year<br />
are set.<br />
S T E P 4: SET THE LOCAT I O N<br />
The next screen will display:<br />
C I T Ywill be flashing. By pressing the ENTER button, the display will change to:<br />
The country will be flashing.<br />
Again by using the SCROLL U P and SCROLL DOWN buttons and the ENTER button, the COUNTRY can be chosen.<br />
When the appropriate Country is found and the ENTER button is pushed, choose the city that you are closest to by<br />
pressing ENTER when it is displayed.<br />
NOTE: CHOOSE THE CITY C L O S E S TTO YOUR VIEWING LOCATION. THIS IS NOTA C R I T I C A LS T E PAND T H E<br />
A L I G N M E N TW I L LBE REFINED A U TO M AT I C A L YAS L WE PROGRESS.<br />
After four simple criteria that any consumer should know, the telescope now knows where over 20,000 astronomical<br />
objects are in the night sky to a relative precision. With just two more steps, you will zero in on pinpoint accuracy.<br />
Now the telescope will lead you through a simple two star alignment process. YOU DO NOTNEED TO KNOW WHERE<br />
A N YS TARS ARE. You just simply follow the directions.<br />
Ascrolling message indicates to CENTER STAR 1 THEN PRESS ENTER<br />
Then the display will read:<br />
Push the “GO” button and the telescope will automatically move to the general vicinity of the first guide star--in this<br />
case MIZAR<br />
The guide stars will be the brightest stars found in that area of the sky. Northstar will automatically “zero out” the guide<br />
star and the display will read:<br />
Note as you move from greater than 10 degrees away from an object to under ten degrees, the display moves into t e n t h s<br />
of degrees with the arrows acting as decimal points (Example below the object).<br />
After getting the star zeroed in, you need to do as the screen told you—CENTER STAR 1. In other words, the star might<br />
appear in the lower left corner of your telescope’s eyepiece.<br />
By looking through the eyepiece, center the star in the field of view by using the Motorized Movement Buttons or move<br />
the telescope by hand and press ENTER.