Installation Guide - SMC
Installation Guide - SMC
Installation Guide - SMC

Create successful ePaper yourself
Turn your PDF publications into a flip-book with our unique Google optimized e-Paper software.
CONNECTING TO A POWER SOURCE<br />
Note: SFP transceivers are not provided in the switch package.<br />
Connecting to a Power Source<br />
To connect a device to a power source:<br />
1. First verify that the external AC power supply can provide 100 to 240<br />
VAC, 50-60 Hz, 1 A minimum.<br />
2. Plug the power cable into a grounded, 3-pin, AC power source.<br />
Note: For international use, you may need to change the AC line<br />
cord. You must use a line cord set that has been approved for<br />
the socket type in your country.<br />
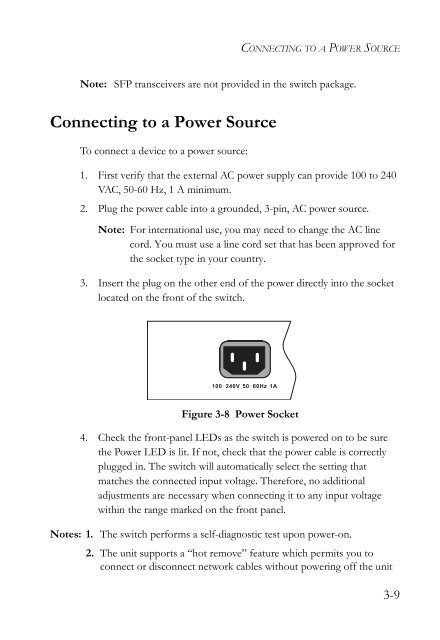
3. Insert the plug on the other end of the power directly into the socket<br />
located on the front of the switch.<br />
100-240V 50-60Hz 1A<br />
Figure 3-8 Power Socket<br />
4. Check the front-panel LEDs as the switch is powered on to be sure<br />
the Power LED is lit. If not, check that the power cable is correctly<br />
plugged in. The switch will automatically select the setting that<br />
matches the connected input voltage. Therefore, no additional<br />
adjustments are necessary when connecting it to any input voltage<br />
within the range marked on the front panel.<br />
Notes: 1. The switch performs a self-diagnostic test upon power-on.<br />
2. The unit supports a “hot remove” feature which permits you to<br />
connect or disconnect network cables without powering off the unit<br />
3-9