September/October 2011: Volume 19, Number 5 - USA Shooting
September/October 2011: Volume 19, Number 5 - USA Shooting
September/October 2011: Volume 19, Number 5 - USA Shooting

You also want an ePaper? Increase the reach of your titles
YUMPU automatically turns print PDFs into web optimized ePapers that Google loves.
Common Mistakes of Junior Shooters<br />
By Steve Faught, Assistant National Junior Pistol Coach<br />
The challenges are diverse and<br />
interesting when working with<br />
junior and junior development<br />
team athletes. In this article<br />
I would like to discuss a couple of the<br />
more common errors we are nding in<br />
these young competitors.<br />
Natural Point of Aim<br />
By the time an athlete makes an<br />
intermediate skill level, they have a fairly<br />
well developed natural point of aim. An<br />
error we commonly see is that many<br />
developing shooters are not aligning<br />
their NPA to the target. We must use the<br />
position that our body naturally wants<br />
to move to. If we are not in our NPA<br />
during the course of a shooting session,<br />
the shots will dri in the direction of the<br />
body instead of on target. A good tool<br />
for coaches to use is the video camera.<br />
More than one junior team member has<br />
insisted that their stance did not change<br />
during a match but video has shown<br />
otherwise. Video taken directly behind<br />
the shooter showed the competitor’s<br />
number was not visible. Halfway<br />
through the match, the shooter had<br />
turned enough so you could easily read<br />
the number.<br />
A good drill to determine if the<br />
shooter is obeying his or her NPA is to<br />
have the shooter take position, sights<br />
on target – then close his or her eyes.<br />
Lower the gun to the ready position –<br />
raise it again to sights on target. Repeat<br />
this sequence two or three times before<br />
instructing the athlete to open his or her<br />
eyes. Has the gun dried le or right? If<br />
so, maybe the rst position was not the<br />
natural point of aim.<br />
Grip and Trigger<br />
Placement<br />
Another area where we commonly<br />
see problems is in the grip and trigger<br />
nger placement. We especially noticed<br />
issues with grip t. e root of this<br />
issue is that kids grow and so do their<br />
hands! I remember<br />
one individual in<br />
particular who<br />
was shooting well<br />
towards the end<br />
of the season and<br />
then took most of<br />
the summer o.<br />
When he started<br />
again that fall, he<br />
was struggling<br />
to keep his shots<br />
in the black. e<br />
groups were erratic<br />
and hard to read.<br />
Once we realized<br />
he had grown<br />
nearly two inches<br />
that summer, we<br />
took a quick look<br />
at his grip and<br />
nger placement.<br />
e problem became obvious. Not all<br />
growth spurts are this dramatic, but it<br />
would be a good idea for a coach to do<br />
an in-depth review of a junior shooter’s<br />
grip and trigger placement every couple<br />
of months. If the shooter is training<br />
regularly once or twice a week, he or she<br />
will not notice the gradual changes in<br />
grip t.<br />
Let’s examine the palm rest of the<br />
grip rest rst. Most junior shooters tend<br />
to have the palm rest too tight. Several<br />
things happen with a palm rest that is<br />
too tight—the hand cups-out losing<br />
contact with the grip; fatigue will set<br />
in early from lack of blood ow and<br />
most importantly, the slightest change<br />
in grip pressure will cause erratic shot<br />
placement. If you are working on palm<br />
rest placement, intentionally set the<br />
palm rest too tight and dry re on a<br />
blank sheet of paper or reversed target.<br />
Also try aligning the sights and change<br />
grip pressure to see where the front<br />
sight moves. en take the palm rest<br />
completely o and repeat the tests. Try<br />
the tests again with various amounts<br />
of support from the palm rest and go<br />
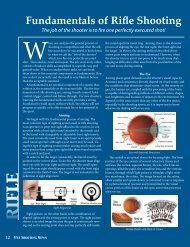
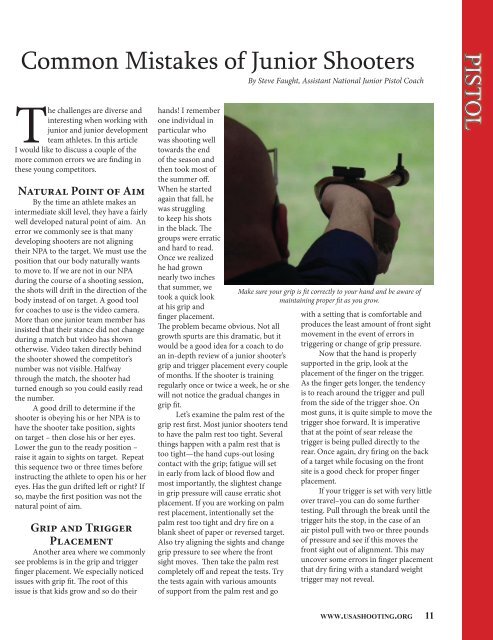
Make sure your grip is t correctly to your hand and be aware of<br />
maintaining proper t as you grow.<br />
with a setting that is comfortable and<br />
produces the least amount of front sight<br />
movement in the event of errors in<br />
triggering or change of grip pressure.<br />
Now that the hand is properly<br />
supported in the grip, look at the<br />
placement of the nger on the trigger.<br />
As the nger gets longer, the tendency<br />
is to reach around the trigger and pull<br />
from the side of the trigger shoe. On<br />
most guns, it is quite simple to move the<br />
trigger shoe forward. It is imperative<br />
that at the point of sear release the<br />
trigger is being pulled directly to the<br />
rear. Once again, dry ring on the back<br />
of a target while focusing on the front<br />
site is a good check for proper nger<br />
placement.<br />
If your trigger is set with very little<br />
over travel–you can do some further<br />
testing. Pull through the break until the<br />
trigger hits the stop, in the case of an<br />
air pistol pull with two or three pounds<br />
of pressure and see if this moves the<br />
front sight out of alignment. is may<br />
uncover some errors in nger placement<br />
that dry ring with a standard weight<br />
trigger may not reveal.<br />
WWW.<strong>USA</strong>SHOOTING.ORG 11<br />
PISTOL