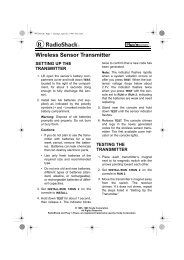
Owner's Manual - Radio Shack
Owner's Manual - Radio Shack
Owner's Manual - Radio Shack

You also want an ePaper? Increase the reach of your titles
YUMPU automatically turns print PDFs into web optimized ePapers that Google loves.
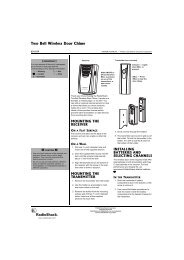
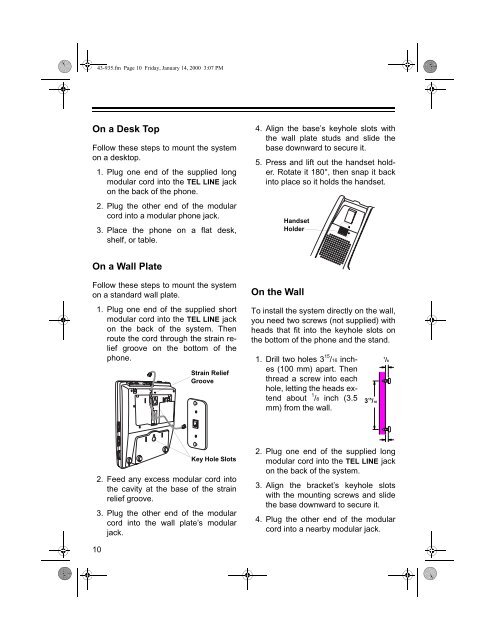
43-935.fm Page 10 Friday, January 14, 2000 3:07 PM<br />
On a Desk Top<br />
Follow these steps to mount the system<br />
on a desktop.<br />
1. Plug one end of the supplied long<br />
modular cord into the TEL LINE jack<br />
on the back of the phone.<br />
2. Plug the other end of the modular<br />
cord into a modular phone jack.<br />
3. Place the phone on a flat desk,<br />
shelf, or table.<br />
On a Wall Plate<br />
Follow these steps to mount the system<br />
on a standard wall plate.<br />
1. Plug one end of the supplied short<br />
modular cord into the TEL LINE jack<br />
on the back of the system. Then<br />
route the cord through the strain relief<br />
groove on the bottom of the<br />
phone.<br />
2. Feed any excess modular cord into<br />
the cavity at the base of the strain<br />
relief groove.<br />
3. Plug the other end of the modular<br />
cord into the wall plate’s modular<br />
jack.<br />
10<br />
Strain Relief<br />
Groove<br />
Key Hole Slots<br />
4. Align the base’s keyhole slots with<br />
the wall plate studs and slide the<br />
base downward to secure it.<br />
5. Press and lift out the handset holder.<br />
Rotate it 180°, then snap it back<br />
into place so it holds the handset.<br />
Handset<br />
Holder<br />
On the Wall<br />
To install the system directly on the wall,<br />
you need two screws (not supplied) with<br />
heads that fit into the keyhole slots on<br />
the bottom of the phone and the stand.<br />
1. Drill two holes 3 15 /16 inches<br />
(100 mm) apart. Then<br />
thread a screw into each<br />
hole, letting the heads extend<br />
about 1 /8 inch (3.5<br />
mm) from the wall.<br />
3 15 /16<br />
2. Plug one end of the supplied long<br />
modular cord into the TEL LINE jack<br />
on the back of the system.<br />
3. Align the bracket’s keyhole slots<br />
with the mounting screws and slide<br />
the base downward to secure it.<br />
4. Plug the other end of the modular<br />
cord into a nearby modular jack.<br />
1 /8