HP Backup and Recovery Manager User Guide
HP Backup and Recovery Manager User Guide
HP Backup and Recovery Manager User Guide
You also want an ePaper? Increase the reach of your titles
YUMPU automatically turns print PDFs into web optimized ePapers that Google loves.
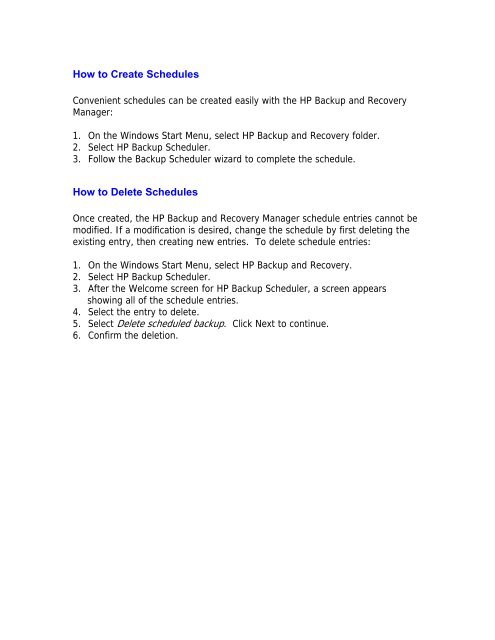
How to Create Schedules<br />
Convenient schedules can be created easily with the <strong>HP</strong> <strong>Backup</strong> <strong>and</strong> <strong>Recovery</strong><br />
<strong>Manager</strong>:<br />
1. On the Windows Start Menu, select <strong>HP</strong> <strong>Backup</strong> <strong>and</strong> <strong>Recovery</strong> folder.<br />
2. Select <strong>HP</strong> <strong>Backup</strong> Scheduler.<br />
3. Follow the <strong>Backup</strong> Scheduler wizard to complete the schedule.<br />
How to Delete Schedules<br />
Once created, the <strong>HP</strong> <strong>Backup</strong> <strong>and</strong> <strong>Recovery</strong> <strong>Manager</strong> schedule entries cannot be<br />
modified. If a modification is desired, change the schedule by first deleting the<br />
existing entry, then creating new entries. To delete schedule entries:<br />
1. On the Windows Start Menu, select <strong>HP</strong> <strong>Backup</strong> <strong>and</strong> <strong>Recovery</strong>.<br />
2. Select <strong>HP</strong> <strong>Backup</strong> Scheduler.<br />
3. After the Welcome screen for <strong>HP</strong> <strong>Backup</strong> Scheduler, a screen appears<br />
showing all of the schedule entries.<br />
4. Select the entry to delete.<br />
5. Select Delete scheduled backup. Click Next to continue.<br />
6. Confirm the deletion.


