BP 4 CT (Turbo) Stage Projector - Pani Projection and Lighting
BP 4 CT (Turbo) Stage Projector - Pani Projection and Lighting
BP 4 CT (Turbo) Stage Projector - Pani Projection and Lighting

You also want an ePaper? Increase the reach of your titles
YUMPU automatically turns print PDFs into web optimized ePapers that Google loves.
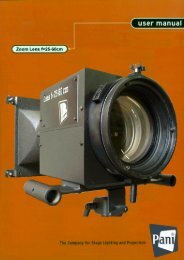
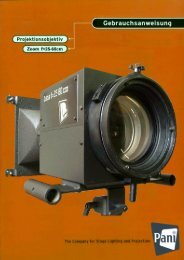
<strong>Stage</strong> <strong>Projector</strong> <strong>BP</strong> 4 <strong>CT</strong> <strong>Pani</strong> <strong>Projection</strong> <strong>and</strong> <strong>Lighting</strong> Vertriebs GmbH<br />
10) Slide (Transparency) Material<br />
Because of the ever changing available film materials, we do not wish to suggest<br />
any specific type. Our best recommendation however comes from our own<br />
experience with film type Agfaclear (from Agfa), type Duraclear (from Kodak) <strong>and</strong><br />
type Ilfochrome (from Ilford). We can suggest that only professional photo labs who<br />
will care for your work be used. Not only for which development process is used but<br />
also the quality.<br />
Since short times also budget-priced ink jet printed foils are used to make slides.<br />
Please infourm yourself about actuals on our homepage ( www.pani.com ). In the<br />
download area you´ll find the latest information.<br />
Photographic transparencies should not be mounted between glass. The heat buildup<br />
will be such that the slides will be destroyed. Necessary cooling of photographic<br />
transparencies can only be guaranteed when using Special Slide Frames (Order<br />
code: 12802 for 18 x 18 cm).<br />
For simple <strong>and</strong> fast mounting in these frames we recommend the use of the Special<br />
Slide Punching Machine (Order code: 12801 for 18 x 18 cm slides).<br />
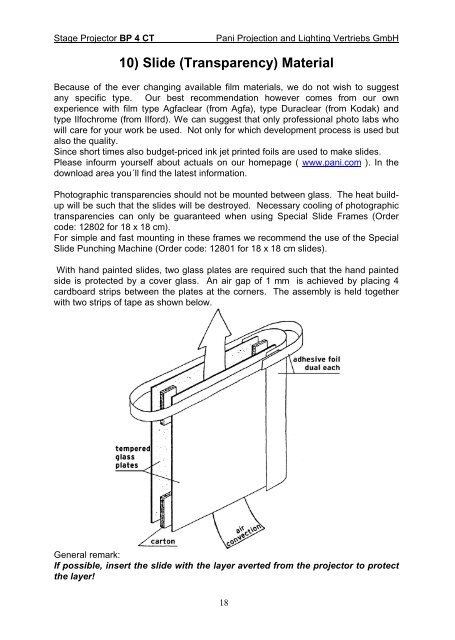
With h<strong>and</strong> painted slides, two glass plates are required such that the h<strong>and</strong> painted<br />
side is protected by a cover glass. An air gap of 1 mm is achieved by placing 4<br />
cardboard strips between the plates at the corners. The assembly is held together<br />
with two strips of tape as shown below.<br />
General remark:<br />
If possible, insert the slide with the layer averted from the projector to protect<br />
the layer!<br />
18