RefWorks 2.0 - University Library - University of Saskatchewan
RefWorks 2.0 - University Library - University of Saskatchewan
RefWorks 2.0 - University Library - University of Saskatchewan

You also want an ePaper? Increase the reach of your titles
YUMPU automatically turns print PDFs into web optimized ePapers that Google loves.
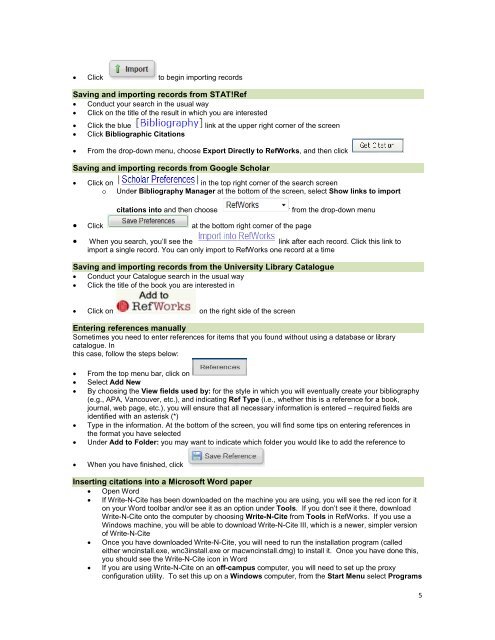
• Click to begin importing records<br />
Saving and importing records from STAT!Ref<br />
• Conduct your search in the usual way<br />
• Click on the title <strong>of</strong> the result in which you are interested<br />
• Click the blue link at the upper right corner <strong>of</strong> the screen<br />
• Click Bibliographic Citations<br />
• From the drop-down menu, choose Export Directly to <strong>RefWorks</strong>, and then click<br />
Saving and importing records from Google Scholar<br />
• Click on in the top right corner <strong>of</strong> the search screen<br />
o Under Bibliography Manager at the bottom <strong>of</strong> the screen, select Show links to import<br />
citations into and then choose from the drop-down menu<br />
• Click at the bottom right corner <strong>of</strong> the page<br />
• When you search, you’ll see the link after each record. Click this link to<br />
import a single record. You can only import to <strong>RefWorks</strong> one record at a time<br />
Saving and importing records from the <strong>University</strong> <strong>Library</strong> Catalogue<br />
• Conduct your Catalogue search in the usual way<br />
• Click the title <strong>of</strong> the book you are interested in<br />
• Click on on the right side <strong>of</strong> the screen<br />
Entering references manually<br />
Sometimes you need to enter references for items that you found without using a database or library<br />
catalogue. In<br />
this case, follow the steps below:<br />
• From the top menu bar, click on<br />
• Select Add New<br />
• By choosing the View fields used by: for the style in which you will eventually create your bibliography<br />
(e.g., APA, Vancouver, etc.), and indicating Ref Type (i.e., whether this is a reference for a book,<br />
journal, web page, etc.), you will ensure that all necessary information is entered – required fields are<br />
identified with an asterisk (*)<br />
• Type in the information. At the bottom <strong>of</strong> the screen, you will find some tips on entering references in<br />
the format you have selected<br />
• Under Add to Folder: you may want to indicate which folder you would like to add the reference to<br />
• When you have finished, click<br />
Inserting citations into a Micros<strong>of</strong>t Word paper<br />
• Open Word<br />
• If Write-N-Cite has been downloaded on the machine you are using, you will see the red icon for it<br />
on your Word toolbar and/or see it as an option under Tools. If you don’t see it there, download<br />
Write-N-Cite onto the computer by choosing Write-N-Cite from Tools in <strong>RefWorks</strong>. If you use a<br />
Windows machine, you will be able to download Write-N-Cite III, which is a newer, simpler version<br />
<strong>of</strong> Write-N-Cite<br />
• Once you have downloaded Write-N-Cite, you will need to run the installation program (called<br />
either wncinstall.exe, wnc3install.exe or macwncinstall.dmg) to install it. Once you have done this,<br />
you should see the Write-N-Cite icon in Word<br />
• If you are using Write-N-Cite on an <strong>of</strong>f-campus computer, you will need to set up the proxy<br />
configuration utility. To set this up on a Windows computer, from the Start Menu select Programs<br />
5