User Guide | KeyStudio 49i - M-Audio
User Guide | KeyStudio 49i - M-Audio
User Guide | KeyStudio 49i - M-Audio
You also want an ePaper? Increase the reach of your titles
YUMPU automatically turns print PDFs into web optimized ePapers that Google loves.
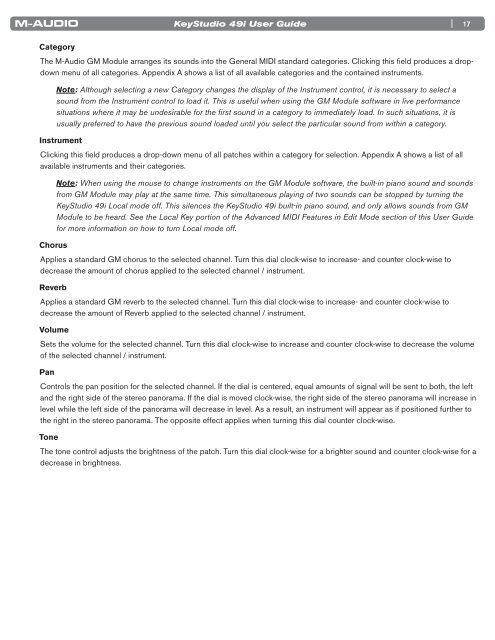
Category<br />
<strong>KeyStudio</strong> <strong>49i</strong> <strong>User</strong> <strong>Guide</strong><br />
| 17<br />
The M-<strong>Audio</strong> GM Module arranges its sounds into the General MIDI standard categories Clicking this field produces a dropdown<br />
menu of all categories Appendix A shows a list of all available categories and the contained instruments<br />
Note: Although selecting a new Category changes the display of the Instrument control, it is necessary to select a<br />
sound from the Instrument control to load it. This is useful when using the GM Module software in live performance<br />
situations where it may be undesirable for the first sound in a category to immediately load. In such situations, it is<br />
usually preferred to have the previous sound loaded until you select the particular sound from within a category.<br />
Instrument<br />
Clicking this field produces a drop-down menu of all patches within a category for selection Appendix A shows a list of all<br />
available instruments and their categories<br />
Chorus<br />
N o t e : When using the mouse to change instruments on the GM Module software, the built-in piano sound and sounds<br />
from GM Module may play at the same time. This simultaneous playing of two sounds can be stopped by turning the<br />
<strong>KeyStudio</strong> <strong>49i</strong> Local mode off. This silences the <strong>KeyStudio</strong> <strong>49i</strong> built-in piano sound, and only allows sounds from GM<br />
Module to be heard. See the Local Key portion of the Advanced MIDI Features in Edit Mode section of this <strong>User</strong> <strong>Guide</strong><br />
for more information on how to turn Local mode off.<br />
Applies a standard GM chorus to the selected channel Turn this dial clock-wise to increase- and counter clock-wise to<br />
decrease the amount of chorus applied to the selected channel / instrument<br />
Reverb<br />
Applies a standard GM reverb to the selected channel Turn this dial clock-wise to increase- and counter clock-wise to<br />
decrease the amount of Reverb applied to the selected channel / instrument<br />
Volume<br />
Sets the volume for the selected channel Turn this dial clock-wise to increase and counter clock-wise to decrease the volume<br />
of the selected channel / instrument<br />
Pan<br />
Controls the pan position for the selected channel If the dial is centered, equal amounts of signal will be sent to both, the left<br />
and the right side of the stereo panorama If the dial is moved clock-wise, the right side of the stereo panorama will increase in<br />
level while the left side of the panorama will decrease in level As a result, an instrument will appear as if positioned further to<br />
the right in the stereo panorama The opposite effect applies when turning this dial counter clock-wise<br />
Tone<br />
The tone control adjusts the brightness of the patch Turn this dial clock-wise for a brighter sound and counter clock-wise for a<br />
decrease in brightness


