films and process sequence ... - Kodak
films and process sequence ... - Kodak
films and process sequence ... - Kodak
Create successful ePaper yourself
Turn your PDF publications into a flip-book with our unique Google optimized e-Paper software.
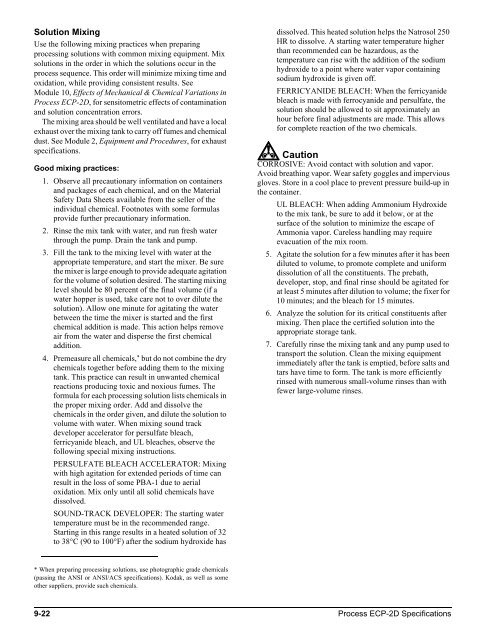
Solution Mixing<br />
Use the following mixing practices when preparing<br />
<strong>process</strong>ing solutions with common mixing equipment. Mix<br />
solutions in the order in which the solutions occur in the<br />
<strong>process</strong> <strong>sequence</strong>. This order will minimize mixing time <strong>and</strong><br />
oxidation, while providing consistent results. See<br />
Module 10, Effects of Mechanical & Chemical Variations in<br />
Process ECP-2D, for sensitometric effects of contamination<br />
<strong>and</strong> solution concentration errors.<br />
The mixing area should be well ventilated <strong>and</strong> have a local<br />
exhaust over the mixing tank to carry off fumes <strong>and</strong> chemical<br />
dust. See Module 2, Equipment <strong>and</strong> Procedures, for exhaust<br />
specifications.<br />
Good mixing practices:<br />
1. Observe all precautionary information on containers<br />
<strong>and</strong> packages of each chemical, <strong>and</strong> on the Material<br />
Safety Data Sheets available from the seller of the<br />
individual chemical. Footnotes with some formulas<br />
provide further precautionary information.<br />
2. Rinse the mix tank with water, <strong>and</strong> run fresh water<br />
through the pump. Drain the tank <strong>and</strong> pump.<br />
3. Fill the tank to the mixing level with water at the<br />
appropriate temperature, <strong>and</strong> start the mixer. Be sure<br />
the mixer is large enough to provide adequate agitation<br />
for the volume of solution desired. The starting mixing<br />
level should be 80 percent of the final volume (if a<br />
water hopper is used, take care not to over dilute the<br />
solution). Allow one minute for agitating the water<br />
between the time the mixer is started <strong>and</strong> the first<br />
chemical addition is made. This action helps remove<br />
air from the water <strong>and</strong> disperse the first chemical<br />
addition.<br />
4. Premeasure all chemicals, * but do not combine the dry<br />
chemicals together before adding them to the mixing<br />
tank. This practice can result in unwanted chemical<br />
reactions producing toxic <strong>and</strong> noxious fumes. The<br />
formula for each <strong>process</strong>ing solution lists chemicals in<br />
the proper mixing order. Add <strong>and</strong> dissolve the<br />
chemicals in the order given, <strong>and</strong> dilute the solution to<br />
volume with water. When mixing sound track<br />
developer accelerator for persulfate bleach,<br />
ferricyanide bleach, <strong>and</strong> UL bleaches, observe the<br />
following special mixing instructions.<br />
PERSULFATE BLEACH ACCELERATOR: Mixing<br />
with high agitation for extended periods of time can<br />
result in the loss of some PBA-1 due to aerial<br />
oxidation. Mix only until all solid chemicals have<br />
dissolved.<br />
SOUND-TRACK DEVELOPER: The starting water<br />
temperature must be in the recommended range.<br />
Starting in this range results in a heated solution of 32<br />
to 38°C (90 to 100°F) after the sodium hydroxide has<br />
* When preparing <strong>process</strong>ing solutions, use photographic grade chemicals<br />
(passing the ANSI or ANSI/ACS specifications). <strong>Kodak</strong>, as well as some<br />
other suppliers, provide such chemicals.<br />
dissolved. This heated solution helps the Natrosol 250<br />
HR to dissolve. A starting water temperature higher<br />
than recommended can be hazardous, as the<br />
temperature can rise with the addition of the sodium<br />
hydroxide to a point where water vapor containing<br />
sodium hydroxide is given off.<br />
FERRICYANIDE BLEACH: When the ferricyanide<br />
bleach is made with ferrocyanide <strong>and</strong> persulfate, the<br />
solution should be allowed to sit approximately an<br />
hour before final adjustments are made. This allows<br />
for complete reaction of the two chemicals.<br />
Caution<br />
CORROSIVE: Avoid contact with solution <strong>and</strong> vapor.<br />
Avoid breathing vapor. Wear safety goggles <strong>and</strong> impervious<br />
gloves. Store in a cool place to prevent pressure build-up in<br />
the container.<br />
UL BLEACH: When adding Ammonium Hydroxide<br />
to the mix tank, be sure to add it below, or at the<br />
surface of the solution to minimize the escape of<br />
Ammonia vapor. Careless h<strong>and</strong>ling may require<br />
evacuation of the mix room.<br />
5. Agitate the solution for a few minutes after it has been<br />
diluted to volume, to promote complete <strong>and</strong> uniform<br />
dissolution of all the constituents. The prebath,<br />
developer, stop, <strong>and</strong> final rinse should be agitated for<br />
at least 5 minutes after dilution to volume; the fixer for<br />
10 minutes; <strong>and</strong> the bleach for 15 minutes.<br />
6. Analyze the solution for its critical constituents after<br />
mixing. Then place the certified solution into the<br />
appropriate storage tank.<br />
7. Carefully rinse the mixing tank <strong>and</strong> any pump used to<br />
transport the solution. Clean the mixing equipment<br />
immediately after the tank is emptied, before salts <strong>and</strong><br />
tars have time to form. The tank is more efficiently<br />
rinsed with numerous small-volume rinses than with<br />
fewer large-volume rinses.<br />
9-22 Process ECP-2D Specifications


