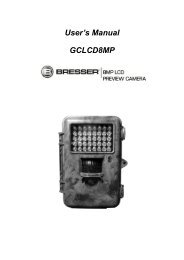
8MP Game Camera GSM with LCD Preview User ... - Explore Scientific
8MP Game Camera GSM with LCD Preview User ... - Explore Scientific
8MP Game Camera GSM with LCD Preview User ... - Explore Scientific

Create successful ePaper yourself
Turn your PDF publications into a flip-book with our unique Google optimized e-Paper software.
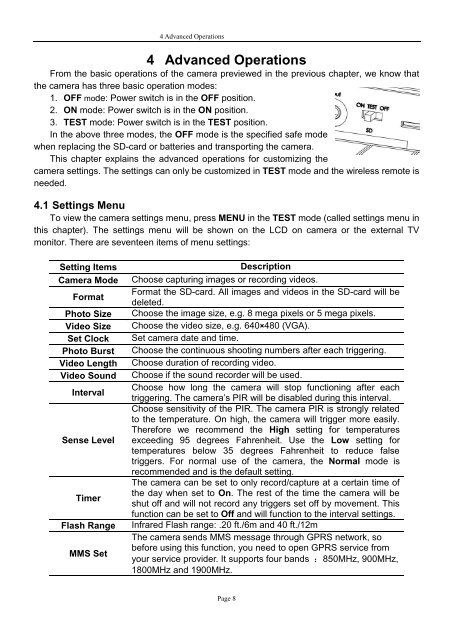
4 Advanced Operations<br />
4 Advanced Operations<br />
From the basic operations of the camera previewed in the previous chapter, we know that<br />
the camera has three basic operation modes:<br />
1. OFF mode: Power switch is in the OFF position.<br />
2. ON mode: Power switch is in the ON position.<br />
3. TEST mode: Power switch is in the TEST position.<br />
In the above three modes, the OFF mode is the specified safe mode<br />
when replacing the SD-card or batteries and transporting the camera.<br />
This chapter explains the advanced operations for customizing the<br />
camera settings. The settings can only be customized in TEST mode and the wireless remote is<br />
needed.<br />
4.1 Settings Menu<br />
To view the camera settings menu, press MENU in the TEST mode (called settings menu in<br />
this chapter). The settings menu will be shown on the <strong>LCD</strong> on camera or the external TV<br />
monitor. There are seventeen items of menu settings:<br />
Setting Items Description<br />
<strong>Camera</strong> Mode Choose capturing images or recording videos.<br />
Format the SD-card. All images and videos in the SD-card will be<br />
Format<br />
deleted.<br />
Photo Size Choose the image size, e.g. 8 mega pixels or 5 mega pixels.<br />
Video Size Choose the video size, e.g. 640×480 (VGA).<br />
Set Clock Set camera date and time.<br />
Photo Burst Choose the continuous shooting numbers after each triggering.<br />
Video Length Choose duration of recording video.<br />
Video Sound Choose if the sound recorder will be used.<br />
Choose how long the camera will stop functioning after each<br />
Interval<br />
triggering. The camera’s PIR will be disabled during this interval.<br />
Choose sensitivity of the PIR. The camera PIR is strongly related<br />
to the temperature. On high, the camera will trigger more easily.<br />
Therefore we recommend the High setting for temperatures<br />
Sense Level exceeding 95 degrees Fahrenheit. Use the Low setting for<br />
temperatures below 35 degrees Fahrenheit to reduce false<br />
triggers. For normal use of the camera, the Normal mode is<br />
recommended and is the default setting.<br />
The camera can be set to only record/capture at a certain time of<br />
the day when set to On. The rest of the time the camera will be<br />
Timer<br />
shut off and will not record any triggers set off by movement. This<br />
function can be set to Off and will function to the interval settings.<br />
Flash Range Infrared Flash range: .20 ft./6m and 40 ft./12m<br />
The camera sends MMS message through GPRS network, so<br />
before using this function, you need to open GPRS service from<br />
MMS Set<br />
your service provider. It supports four bands :850MHz, 900MHz,<br />
1800MHz and 1900MHz.<br />
Page 8