I nformationfor F aculty - Nova Scotia College of Art and Design
I nformationfor F aculty - Nova Scotia College of Art and Design
I nformationfor F aculty - Nova Scotia College of Art and Design
You also want an ePaper? Increase the reach of your titles
YUMPU automatically turns print PDFs into web optimized ePapers that Google loves.
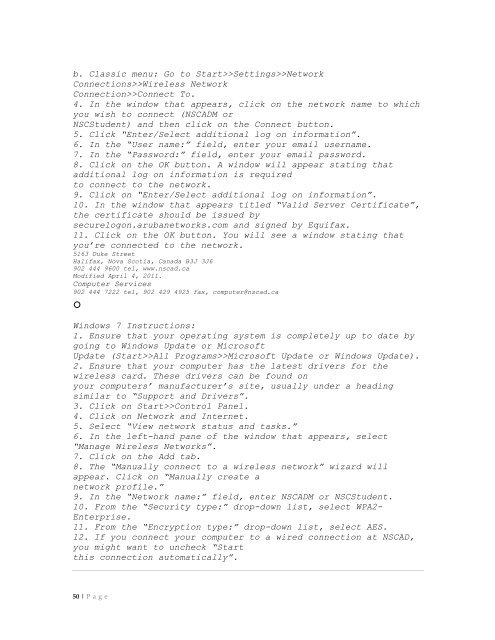
. Classic menu: Go to Start>>Settings>>Network<br />
Connections>>Wireless Network<br />
Connection>>Connect To.<br />
4. In the window that appears, click on the network name to which<br />
you wish to connect (NSCADM or<br />
NSCStudent) <strong>and</strong> then click on the Connect button.<br />
5. Click “Enter/Select additional log on information”.<br />
6. In the “User name:” field, enter your email username.<br />
7. In the “Password:” field, enter your email password.<br />
8. Click on the OK button. A window will appear stating that<br />
additional log on information is required<br />
to connect to the network.<br />
9. Click on “Enter/Select additional log on information”.<br />
10. In the window that appears titled “Valid Server Certificate”,<br />
the certificate should be issued by<br />
securelogon.arubanetworks.com <strong>and</strong> signed by Equifax.<br />
11. Click on the OK button. You will see a window stating that<br />
you’re connected to the network.<br />
5163 Duke Street<br />
Halifax, <strong>Nova</strong> <strong>Scotia</strong>, Canada B3J 3J6<br />
902 444 9600 tel, www.nscad.ca<br />
Modified April 4, 2011.<br />
Computer Services<br />
902 444 7222 tel, 902 429 4925 fax, computer@nscad.ca<br />
°<br />
Windows 7 Instructions:<br />
1. Ensure that your operating system is completely up to date by<br />
going to Windows Update or Micros<strong>of</strong>t<br />
Update (Start>>All Programs>>Micros<strong>of</strong>t Update or Windows Update).<br />
2. Ensure that your computer has the latest drivers for the<br />
wireless card. These drivers can be found on<br />
your computers’ manufacturer’s site, usually under a heading<br />
similar to “Support <strong>and</strong> Drivers”.<br />
3. Click on Start>>Control Panel.<br />
4. Click on Network <strong>and</strong> Internet.<br />
5. Select “View network status <strong>and</strong> tasks.”<br />
6. In the left-h<strong>and</strong> pane <strong>of</strong> the window that appears, select<br />
“Manage Wireless Networks”.<br />
7. Click on the Add tab.<br />
8. The “Manually connect to a wireless network” wizard will<br />
appear. Click on “Manually create a<br />
network pr<strong>of</strong>ile.”<br />
9. In the “Network name:” field, enter NSCADM or NSCStudent.<br />
10. From the “Security type:” drop-down list, select WPA2-<br />
Enterprise.<br />
11. From the “Encryption type:” drop-down list, select AES.<br />
12. If you connect your computer to a wired connection at NSCAD,<br />
you might want to uncheck “Start<br />
this connection automatically”.<br />
50 | P age


