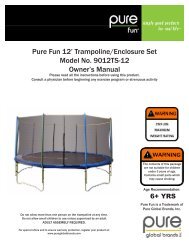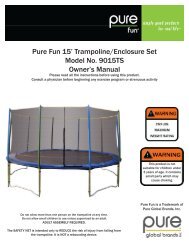
Pure Fun 12' Trampoline/Enclosure Set Model No. 9012TS Owner's ...
Pure Fun 12' Trampoline/Enclosure Set Model No. 9012TS Owner's ...
Pure Fun 12' Trampoline/Enclosure Set Model No. 9012TS Owner's ...

You also want an ePaper? Increase the reach of your titles
YUMPU automatically turns print PDFs into web optimized ePapers that Google loves.
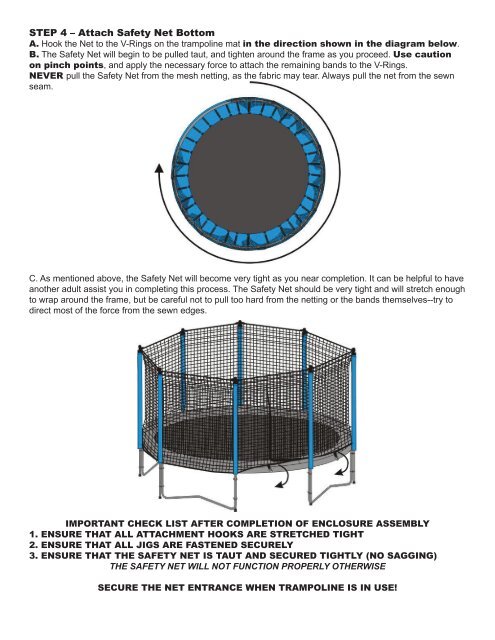
STEP 4 – Attach Safety Net Bottom<br />
A. Hook the Net to the V-Rings on the trampoline mat in the direction shown in the diagram below.<br />
B. The Safety Net will begin to be pulled taut, and tighten around the frame as you proceed. Use caution<br />
on pinch points, and apply the necessary force to attach the remaining bands to the V-Rings.<br />
NEVER pull the Safety Net from the mesh netting, as the fabric may tear. Always pull the net from the sewn<br />
seam.<br />
C. As mentioned above, the Safety Net will become very tight as you near completion. It can be helpful to have<br />
another adult assist you in completing this process. The Safety Net should be very tight and will stretch enough<br />
to wrap around the frame, but be careful not to pull too hard from the netting or the bands themselves--try to<br />
direct most of the force from the sewn edges.<br />
IMPORTANT CHECK LIST AFTER COMPLETION OF ENCLOSURE ASSEMBLY<br />
1. ENSURE THAT ALL ATTACHMENT HOOKS ARE STRETCHED TIGHT<br />
2. ENSURE THAT ALL JIGS ARE FASTENED SECURELY<br />
3. ENSURE THAT THE SAFETY NET IS TAUT AND SECURED TIGHTLY (NO SAGGING)<br />
THE SAFETY NET WILL NOT FUNCTION PROPERLY OTHERWISE<br />
SECURE THE NET ENTRANCE WHEN TRAMPOLINE IS IN USE!