FAX T-Concept F210 - Fax-Anleitung.de
FAX T-Concept F210 - Fax-Anleitung.de
FAX T-Concept F210 - Fax-Anleitung.de

You also want an ePaper? Increase the reach of your titles
YUMPU automatically turns print PDFs into web optimized ePapers that Google loves.
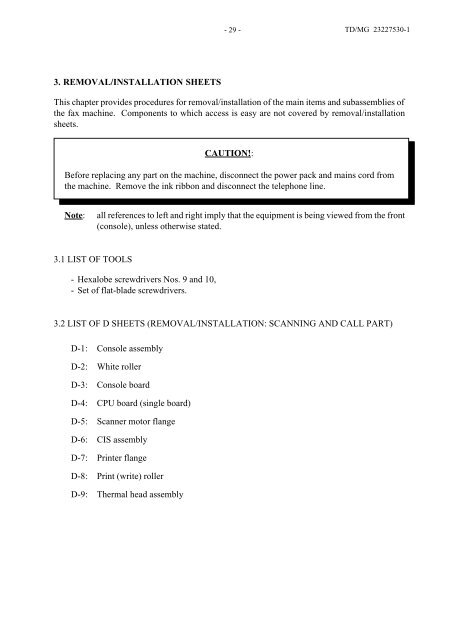
3. REMOVAL/INSTALLATION SHEETS<br />
- 29 - TD/MG 23227530-1<br />
This chapter provi<strong>de</strong>s procedures for removal/installation of the main items and subassemblies of<br />
the fax machine. Components to which access is easy are not covered by removal/installation<br />
sheets.<br />
CAUTION!:<br />
Before replacing any part on the machine, disconnect the power pack and mains cord from<br />
the machine. Remove the ink ribbon and disconnect the telephone line.<br />
Note: all references to left and right imply that the equipment is being viewed from the front<br />
(console), unless otherwise stated.<br />
3.1 LIST OF TOOLS<br />
- Hexalobe screwdrivers Nos. 9 and 10,<br />
- Set of flat-bla<strong>de</strong> screwdrivers.<br />
3.2 LIST OF D SHEETS (REMOVAL/INSTALLATION: SCANNING AND CALL PART)<br />
D-1: Console assembly<br />
D-2: White roller<br />
D-3: Console board<br />
D-4: CPU board (single board)<br />
D-5: Scanner motor flange<br />
D-6: CIS assembly<br />
D-7: Printer flange<br />
D-8: Print (write) roller<br />
D-9: Thermal head assembly