Layer 2-7 High Availability Deployment Guide - Force10 Networks
Layer 2-7 High Availability Deployment Guide - Force10 Networks
Layer 2-7 High Availability Deployment Guide - Force10 Networks

Create successful ePaper yourself
Turn your PDF publications into a flip-book with our unique Google optimized e-Paper software.
Important NetScaler IP Addresses<br />
Acronym Description Usage<br />
Note: NSIP is Mandatory and requires a reboot.<br />
NSIP NetScaler IP Address The NetScaler IP (NSIP) is the management IP address for the<br />
appliance, and is used for all management related access to the<br />
appliance. There can only be one NSIP.<br />
MIP Mapped IP Address The mapped IP address (MIP) is used by the Application Switch<br />
to represent the client when communicating with the backend<br />
managed server. Mapped IP addresses (MIP) are used for serverside<br />
connections and Reverse NAT. Think of this as the client’s<br />
source address on the server-side of the Application Switch,<br />
assuming a two-arm proxy deployment. In this example you can<br />
think of it as the Tagged VLAN IP.<br />
SNIP Subnet IP Address The Subnet IP address (SNIP) allows the user to access an<br />
Application Switch from an external host that is residing on another<br />
subnet. When a subnet IP address is added, a corresponding<br />
route entry is made in the route table. Only one such entry is<br />
made per subnet. The route entry corresponds to the first IP<br />
address added in the subnet.<br />
VIP Virtual IP Address The Virtual Server IP address (VIP) is used by the Application<br />
Switch to represent the public facing ip address of the managed<br />
services. ARP and ICMP attributes on this IP address allow<br />
users to host the same vserver on multiple Application Switches<br />
residing on the same broadcast domain.<br />
DFG Default Gateway IP Address of the router that forwards traffic outside of the subnet<br />
where the appliance is installed.<br />
TIP: Disabling the blinking LCD Panel<br />
The LCD panel on the front of the NetScaler will flash intermittently until the unused interfaces are disabled<br />
and HA monitoring is turned off on them. In the GUI, Navigate to NetScaler > Network > Interfaces.<br />
Select an interface, right-click to disable. Right-click to Open, and disable HA monitoring.<br />
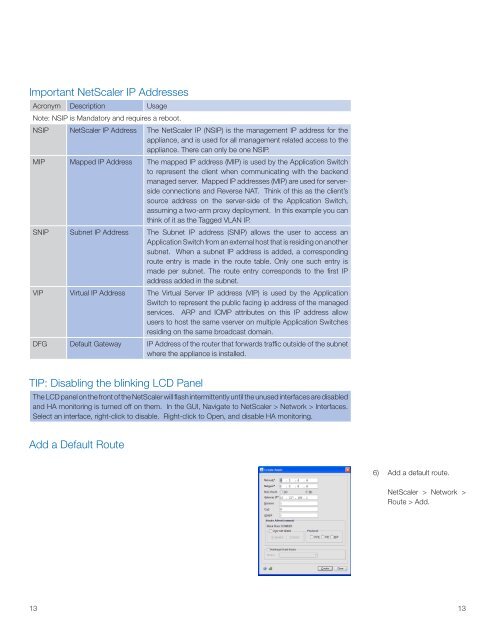
Add a Default Route<br />
13<br />
6) Add a default route.<br />
NetScaler > Network ><br />
Route > Add.<br />
13