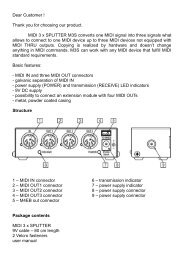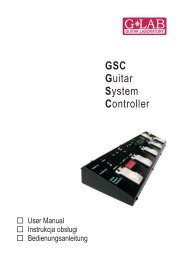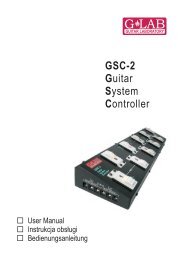
GSC-3 - G LAB
GSC-3 - G LAB
GSC-3 - G LAB

Create successful ePaper yourself
Turn your PDF publications into a flip-book with our unique Google optimized e-Paper software.
Preset programming<br />
A preset is defined by:<br />
– switched on effects (connected to LOOP1 to LOOP6) and buffer switched on or off;<br />
– amp’s setting (amp channel and/or effect selecting) controlled by SW1 to SW4 outputs;<br />
– MIDI Program Change numbers (and Control Change commands) transmitted to MIDI devices.<br />
Loops (LOOP1 to LOOP6) programming<br />
a) Select bank and preset.<br />
b) Memory access lock switch to UNLOCK position (LOCK indicator not lit).<br />
c) Press LOOP button (LOOP indicator and preset number start to blink).<br />
d) Check if P character is displayed before the double dot. If not set it by footswitch No. 7 (PRESET<br />
MODE)<br />
e) By presets footswitches 1 to 5 and 0 set loops (effects) which should be active (indicators LOOP 1<br />
to 6 lit mean effects are activated). Switch on/off the buffer by footswitch No. 6 (BUFFER indicator<br />
lit means the buffer is active).<br />
f) Press LOOP button to save. Displaying text Stored confirm saving.<br />
In case of necessity of escape without saving while the point d) or e) it should be pressed SWITCH or<br />
MIDI 1 or MIDI 2 button.<br />
REMARK:<br />
In case of not plugging in a connector to a particular effect’s loop RETURN the signal will skip such a loop<br />
despite of activating this loop. It allows to use presets despite of not connecting effects to such a loop.<br />
Amp settings programming<br />
a) Select bank and preset.<br />
b) Memory access lock switch to UNLOCK position (LOCK indicator not lit).<br />
c) Press SWITCH button (SWITCH indicator and preset number start to blink).<br />
d) By footswitches 1 to 4 set SWITCH outputs (SW1 to SW4 indicators signalise amp settings).<br />
e) Press SWITCH button to save. Displaying text Stored confirm saving.<br />
In case of necessity of escape without saving while the point d) it should be pressed LOOP or MIDI 1 or<br />
MIDI 2 button.<br />
MIDI program numbers programming<br />
The controller enables to control three MIDI devices (MIDI 1, MIDI 2 and MIDI 3) by the Program Change<br />
command. Before programming, the MIDI channels should be set (see: MIDI channel setting).<br />
a) Connect MIDI cable between MIDI OUT output connector and MIDI IN input connector of the<br />
controlled device.<br />
b) Select bank and preset.<br />
c) Memory access lock switch to UNLOCK position (LOCK indicator not lit).<br />
d) Press MIDI 1 button (MIDI 1 indicator will start to blink). Actual program No. or text unused (what<br />
means that command is not send) will appear on display.<br />
e) Enter program No. using footswitches (e.g. for program No. 24 press footswitch No. 2 and then<br />
footswitch No. 4). If you don’t want to send Program Change command in this preset press<br />
footswitch No. 0 and hold for minimum 1 second (text unu will appear on display).<br />
Available program numbers are from 1 to 128 (transmitted values from 0 to 127). The text Err<br />
means the number is out of the range.<br />
f) Press MIDI 1 button to save. Displaying text Stored confirms saving.<br />
In case of necessity of escape without saving while the point e) it should be pressed LOOP or SWITCH<br />
button.<br />
7