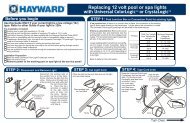
Max Flo II™ Pump Series - Owner's Manual - Pool Center
Max Flo II™ Pump Series - Owner's Manual - Pool Center
Max Flo II™ Pump Series - Owner's Manual - Pool Center

You also want an ePaper? Increase the reach of your titles
YUMPU automatically turns print PDFs into web optimized ePapers that Google loves.
<strong>Max</strong>-<strong>Flo</strong> II <strong>Series</strong> __________________ ___________________________ ___Page 10 of 16<br />
10. Gently wipe the black, polished surface of the spring seal assembly with a clean, soft, cotton cloth.<br />
11. Press the spring seal assembly (item #12) onto the motor shaft – black polished surface facing toward the<br />
polished surface of the ceramic seat.<br />
Replacing the Impeller and Diffuser (See Parts Diagram on page 11 of this manual for pump component locations.)<br />
11. Screw the impeller (item#10) onto the motor shaft in a clockwise direction. Tighten snugly by holding motor<br />
shaft with wrench as noted in step #4.<br />
12. Place the diffuser (item #9) over the impeller (item#10) onto the seal plate (item#13), aligning the three (3)<br />
protruding pins with the matching holes in the seal plate (item#13). Note: Arrow on diffuser (item #9) will<br />
face up. Replace two diffuser screws (item #7).<br />
Replacing the Motor Assembly (See Parts Diagram on page 11 of this manual for pump component locations.)<br />
14. Re-attach motor end cover/canopy by using the two (2) hex shaped screws. Slide the motor assembly with the<br />
diffuser (item#9) in place, into pump/strainer housing (item#4), being careful not to disturb the diffuser gasket<br />
(item#8).<br />
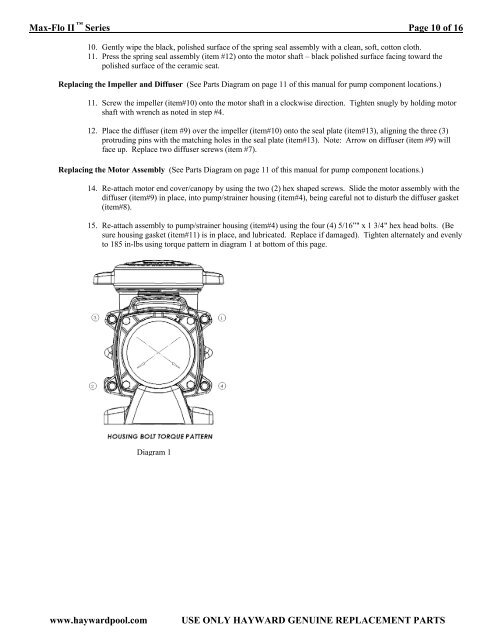
15. Re-attach assembly to pump/strainer housing (item#4) using the four (4) 5/16”" x 1 3/4" hex head bolts. (Be<br />
sure housing gasket (item#11) is in place, and lubricated. Replace if damaged). Tighten alternately and evenly<br />
to 185 in-lbs using torque pattern in diagram 1 at bottom of this page.<br />
Diagram 1<br />
www.haywardpool.com<br />
USE ONLY HAYWARD GENUINE REPLACEMENT PARTS