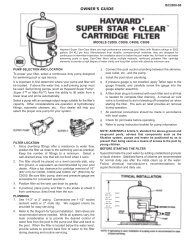
Max Flo II™ Pump Series - Owner's Manual - Pool Center
Max Flo II™ Pump Series - Owner's Manual - Pool Center
Max Flo II™ Pump Series - Owner's Manual - Pool Center

You also want an ePaper? Increase the reach of your titles
YUMPU automatically turns print PDFs into web optimized ePapers that Google loves.
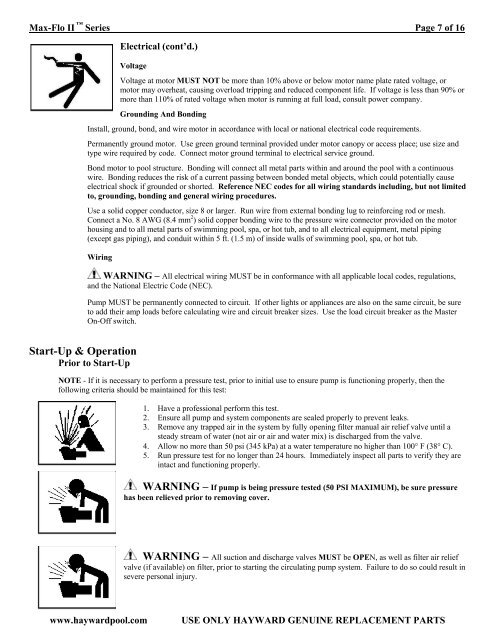
<strong>Max</strong>-<strong>Flo</strong> II <strong>Series</strong> _ _________ _____ ________________________ Page 7 of 16<br />
Electrical (cont’d.)<br />
Voltage<br />
Voltage at motor MUST NOT be more than 10% above or below motor name plate rated voltage, or<br />
motor may overheat, causing overload tripping and reduced component life. If voltage is less than 90% or<br />
more than 110% of rated voltage when motor is running at full load, consult power company.<br />
Grounding And Bonding<br />
Install, ground, bond, and wire motor in accordance with local or national electrical code requirements.<br />
Permanently ground motor. Use green ground terminal provided under motor canopy or access place; use size and<br />
type wire required by code. Connect motor ground terminal to electrical service ground.<br />
Bond motor to pool structure. Bonding will connect all metal parts within and around the pool with a continuous<br />
wire. Bonding reduces the risk of a current passing between bonded metal objects, which could potentially cause<br />
electrical shock if grounded or shorted. Reference NEC codes for all wiring standards including, but not limited<br />
to, grounding, bonding and general wiring procedures.<br />
Use a solid copper conductor, size 8 or larger. Run wire from external bonding lug to reinforcing rod or mesh.<br />
Connect a No. 8 AWG (8.4 mm 2 ) solid copper bonding wire to the pressure wire connector provided on the motor<br />
housing and to all metal parts of swimming pool, spa, or hot tub, and to all electrical equipment, metal piping<br />
(except gas piping), and conduit within 5 ft. (1.5 m) of inside walls of swimming pool, spa, or hot tub.<br />
Wiring<br />
WARNING – All electrical wiring MUST be in conformance with all applicable local codes, regulations,<br />
and the National Electric Code (NEC).<br />
<strong>Pump</strong> MUST be permanently connected to circuit. If other lights or appliances are also on the same circuit, be sure<br />
to add their amp loads before calculating wire and circuit breaker sizes. Use the load circuit breaker as the Master<br />
On-Off switch.<br />
Start-Up & Operation<br />
Prior to Start-Up<br />
NOTE - If it is necessary to perform a pressure test, prior to initial use to ensure pump is functioning properly, then the<br />
following criteria should be maintained for this test:<br />
1. Have a professional perform this test.<br />
2. Ensure all pump and system components are sealed properly to prevent leaks.<br />
3. Remove any trapped air in the system by fully opening filter manual air relief valve until a<br />
steady stream of water (not air or air and water mix) is discharged from the valve.<br />
4. Allow no more than 50 psi (345 kPa) at a water temperature no higher than 100° F (38° C).<br />
5. Run pressure test for no longer than 24 hours. Immediately inspect all parts to verify they are<br />
intact and functioning properly.<br />
WARNING – If pump is being pressure tested (50 PSI MAXIMUM), be sure pressure<br />
has been relieved prior to removing cover.<br />
WARNING – All suction and discharge valves MUST be OPEN, as well as filter air relief<br />
valve (if available) on filter, prior to starting the circulating pump system. Failure to do so could result in<br />
severe personal injury.<br />
www.haywardpool.com<br />
USE ONLY HAYWARD GENUINE REPLACEMENT PARTS