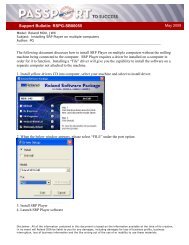
EGX-20 Application Guide - Support
EGX-20 Application Guide - Support
EGX-20 Application Guide - Support

You also want an ePaper? Increase the reach of your titles
YUMPU automatically turns print PDFs into web optimized ePapers that Google loves.
<strong>EGX</strong>-<strong>20</strong> Setup for Plastic Engraving<br />
<br />
Press the joystick button in for a few seconds until<br />
the Z Axis light turns on.<br />
NOTES:<br />
<br />
Press the ORIGIN button, the nosecone will<br />
automatically drop down to the surface of the<br />
material and the ORIGIN light lights up.<br />
<br />
Remove the cutter from the cutter holder (brass<br />
knob) and attach the cutter holder at the top of the<br />
spindle unit.<br />
<br />
Lower the cutter into the holder until the tool<br />
touches the plate and tighten the hex screw to<br />
secure the cutter in place.<br />
<br />
Press the ORIGIN button again, the spindle will<br />
move up 0.5mm and the ORIGIN light will turn off.<br />
<br />
Press the joystick button in for a few seconds until<br />
the Z Axis light turns off.<br />
<br />
The machine is now ready to rotary engrave.