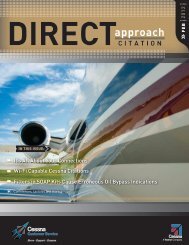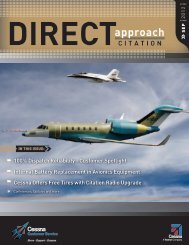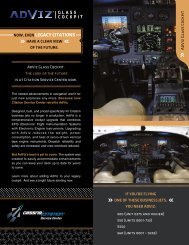
"2011 DIRECT"... - Cessna
"2011 DIRECT"... - Cessna
"2011 DIRECT"... - Cessna

Create successful ePaper yourself
Turn your PDF publications into a flip-book with our unique Google optimized e-Paper software.
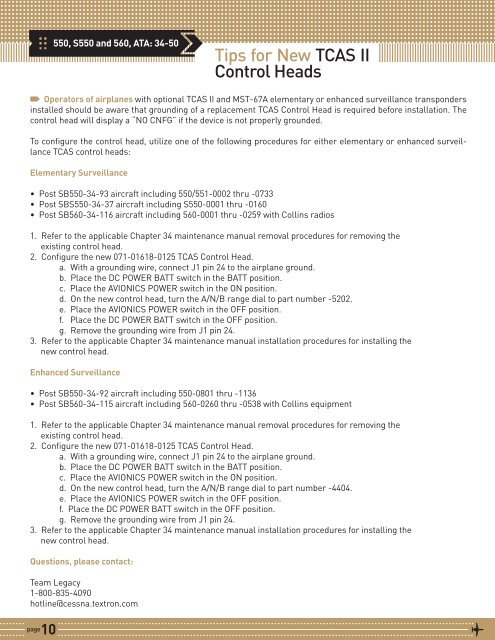
550, S550 and 560, ATA: 34-50<br />
Tips for New TCAS II<br />
Control Heads<br />
Operators of airplanes with optional TCAS II and MST-67A elementary or enhanced surveillance transponders<br />
installed should be aware that grounding of a replacement TCAS Control Head is required before installation. The<br />
control head will display a “NO CNFG” if the device is not properly grounded.<br />
To configure the control head, utilize one of the following procedures for either elementary or enhanced surveillance<br />
TCAS control heads:<br />
Elementary Surveillance<br />
• Post SB550-34-93 aircraft including 550/551-0002 thru -0733<br />
• Post SBS550-34-37 aircraft including S550-0001 thru -0160<br />
• Post SB560-34-116 aircraft including 560-0001 thru -0259 with Collins radios<br />
1. Refer to the applicable Chapter 34 maintenance manual removal procedures for removing the<br />
existing control head.<br />
2. Configure the new 071-01618-0125 TCAS Control Head.<br />
a. With a grounding wire, connect J1 pin 24 to the airplane ground.<br />
b. Place the DC POWER BATT switch in the BATT position.<br />
c. Place the AVIONICS POWER switch in the ON position.<br />
d. On the new control head, turn the A/N/B range dial to part number -5202.<br />
e. Place the AVIONICS POWER switch in the OFF position.<br />
f. Place the DC POWER BATT switch in the OFF position.<br />
g. Remove the grounding wire from J1 pin 24.<br />
3. Refer to the applicable Chapter 34 maintenance manual installation procedures for installing the<br />
new control head.<br />
Enhanced Surveillance<br />
• Post SB550-34-92 aircraft including 550-0801 thru -1136<br />
• Post SB560-34-115 aircraft including 560-0260 thru -0538 with Collins equipment<br />
1. Refer to the applicable Chapter 34 maintenance manual removal procedures for removing the<br />
existing control head.<br />
2. Configure the new 071-01618-0125 TCAS Control Head.<br />
a. With a grounding wire, connect J1 pin 24 to the airplane ground.<br />
b. Place the DC POWER BATT switch in the BATT position.<br />
c. Place the AVIONICS POWER switch in the ON position.<br />
d. On the new control head, turn the A/N/B range dial to part number -4404.<br />
e. Place the AVIONICS POWER switch in the OFF position.<br />
f. Place the DC POWER BATT switch in the OFF position.<br />
g. Remove the grounding wire from J1 pin 24.<br />
3. Refer to the applicable Chapter 34 maintenance manual installation procedures for installing the<br />
new control head.<br />
Questions, please contact:<br />
Team Legacy<br />
1-800-835-4090<br />
hotline@cessna.textron.com<br />
page 10