Carter WCFB 4 - Pontiac Custom Safari 55 56 & 57
Carter WCFB 4 - Pontiac Custom Safari 55 56 & 57
Carter WCFB 4 - Pontiac Custom Safari 55 56 & 57

You also want an ePaper? Increase the reach of your titles
YUMPU automatically turns print PDFs into web optimized ePapers that Google loves.
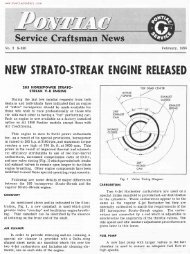
6B-26 19<strong>55</strong> PONTIAC SHOP MANUAL<br />
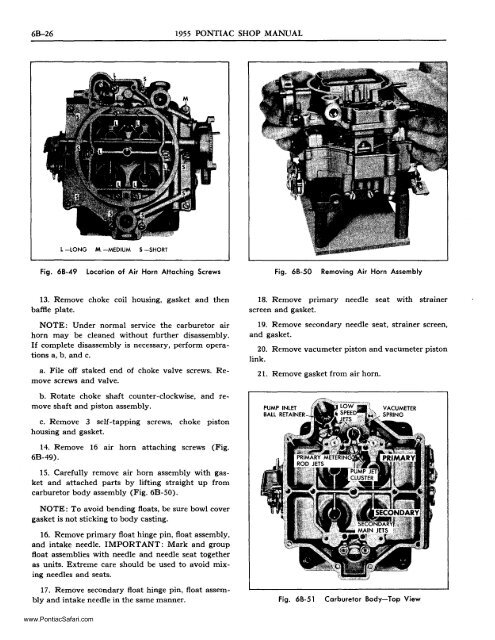
L -LONG M. -MEDIUM 5 -SHORT<br />
Fig. 68-49<br />
Location of Air Horn Attaching Screws<br />
Fig. 68-50<br />
Removing Air Horn Assembly<br />
13. Remove choke coil housing, gasket and then<br />
baffle plate.<br />
NOTE: Under normal service the carburetor air<br />
horn may be cleaned without further disassembly.<br />
If complete disassembly is necessary, perform operations<br />
a, b, and c.<br />
a. File off staked end of choke valve screws. Remove<br />
screws and valve.<br />
18. Remove primary needle seat with strainer<br />
screen and gasket.<br />
19. Remove secondary needle seat, strainer screen,<br />
and gasket.<br />
20. Remove vacumeter piston and vacumeter piston<br />
link.<br />
21. Remove gasket from air horn.<br />
b. Rotate choke shaft counter-clockwise, and remove<br />
shaft and piston assembly.<br />
c. Remove 3 self-tapping screws, choke piston<br />
housing and gasket.<br />
14. Remove 16 air horn attaching screws (Fig.<br />
6B-49).<br />
15. Carefully remove air horn assembly with gasket<br />
and attached parts by lifting straight up from<br />
carburetor body assembly (Fig. 6B-sO).<br />
NOTE: To avoid bending floats, be sure bowl cover<br />
gasket is not sticking to body casting.<br />
16. Remove primary float hinge pin, float assembly,<br />
and intake needle. IMPORTANT: Mark and group<br />
float assemblies with needle and needle seat together<br />
as units. Extreme care should be used to avoid mixing<br />
needles and seats.<br />
17. Remove secondary float hinge pin, float assembly<br />
and intake needle in the same manner.<br />
Fig. 68-51<br />
Carburetor 8ody-Top View<br />
www.<strong>Pontiac</strong><strong>Safari</strong>.com