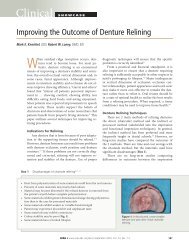
Successful Dentures Part II - Removable Prosthodontics
Successful Dentures Part II - Removable Prosthodontics
Successful Dentures Part II - Removable Prosthodontics

You also want an ePaper? Increase the reach of your titles
YUMPU automatically turns print PDFs into web optimized ePapers that Google loves.
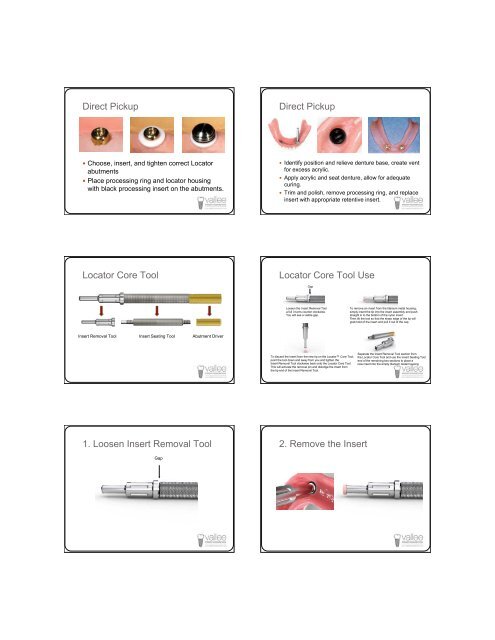
Direct Pickup<br />
Direct Pickup<br />
Choose, insert, and tighten correct Locator<br />
abutments<br />
Place processing ring and locator housing<br />
with black processing insert on the abutments.<br />
Identify position and relieve denture base, create vent<br />
for excess acrylic.<br />
Apply acrylic and seat denture, allow for adequate<br />
curing.<br />
Trim and polish, remove processing ring, and replace<br />
insert with appropriate retentive insert.<br />
Locator Core Tool<br />
Locator Core Tool Use<br />
Gap<br />
Loosen the Insert Removal Tool<br />
a full 3 turns counter clockwise.<br />
You will see a visible gap.<br />
To remove an insert from the titanium metal housing;<br />
simply insert the tip into the insert assembly and push<br />
straight in to the bottom of the nylon insert.<br />
Then tilt the tool so that the sharp edge of the tip will<br />
grab hold of the insert and pull it out of the cap.<br />
Insert Removal Tool Insert Seating Tool Abutment Driver<br />
To discard the insert from the new tip on the Locator Core Tool;<br />
point the tool down and away from you and tighten the<br />
Insert Removal Tool clockwise back onto the Locator Core Tool.<br />
This will activate the removal pin and dislodge the insert from<br />
the tip end of the Insert Removal Tool.<br />
Separate the Insert Removal Tool section from<br />
the Locator Core Tool and use the Insert Seating Tool<br />
end of the remaining two sections to place a<br />
new insert into the empty titanium metal housing.<br />
1. Loosen Insert Removal Tool 2. Remove the Insert<br />
Gap