bruel & kjaer 2240 sound level meter
bruel & kjaer 2240 sound level meter
bruel & kjaer 2240 sound level meter

You also want an ePaper? Increase the reach of your titles
YUMPU automatically turns print PDFs into web optimized ePapers that Google loves.
PART 1<br />
English 13<br />
The Sound Level Para<strong>meter</strong> key can also be used to electrically calibrate the instrument by<br />
holding down for three seconds. Actual adjustments are made using the calibration switch<br />
on the side panel, and the included screwdriver. It is a good idea to calibrate the instrument<br />
before and after a series of measurements to conform to required standards and ensure precise<br />
results each time. See “Calibration” on page 18. for more information.<br />
Sound Level Range Key<br />
This key controls the <strong>sound</strong> <strong>level</strong> range to be measured.<br />
Quick Guide Symbol<br />
30 – 110 dB<br />
60 – 140 dB<br />
Instructions<br />
To measure in this range,<br />
press until the bar<br />
graph shows a range of<br />
30 – 110 dB<br />
To measure in this range,<br />
press until the bar<br />
graph shows a range of<br />
60 – 140 dB<br />
Installing Batteries<br />
Type <strong>2240</strong>’s power supply consists of two AA-size (IEC R 6 or LR 6) alkaline batteries. To<br />
install the batteries, do the following:<br />
1) Make sure the <strong>sound</strong> <strong>level</strong> <strong>meter</strong> is switched off.<br />
2) The battery compartment is located in the centre of the instrument’s back panel. Slide the<br />
cover off.<br />
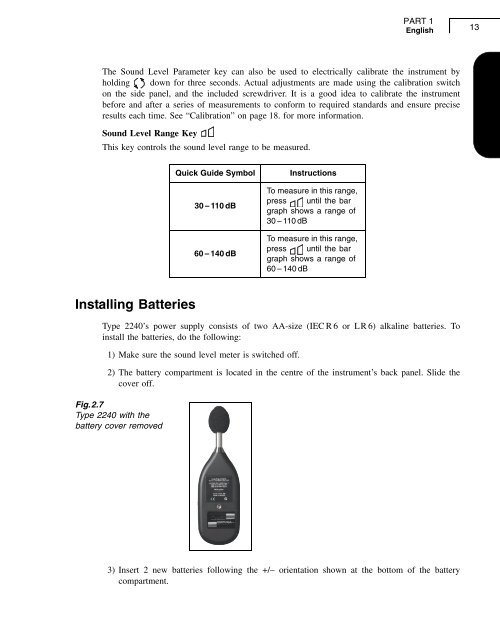
Fig.2.7<br />
Type <strong>2240</strong> with the<br />
battery cover removed<br />
3) Insert 2 new batteries following the +/– orientation shown at the bottom of the battery<br />
compartment.