PDF Manual - GME
PDF Manual - GME
PDF Manual - GME
You also want an ePaper? Increase the reach of your titles
YUMPU automatically turns print PDFs into web optimized ePapers that Google loves.
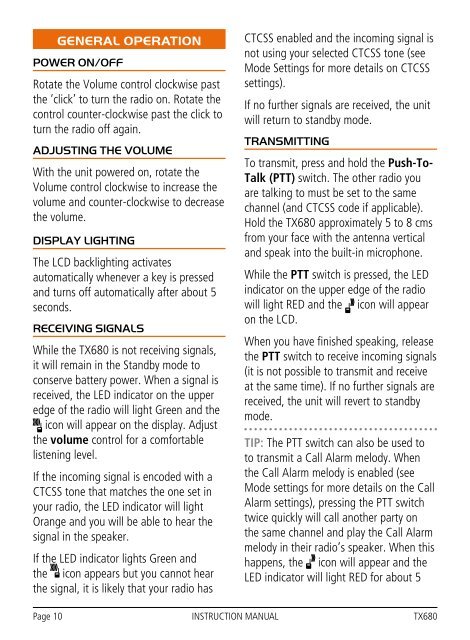
GENERAL OPERATION<br />
Power On/Off<br />
Rotate the Volume control clockwise past<br />
the ‘click’ to turn the radio on. Rotate the<br />
control counter-clockwise past the click to<br />
turn the radio off again.<br />
Adjusting the Volume<br />
With the unit powered on, rotate the<br />
Volume control clockwise to increase the<br />
volume and counter-clockwise to decrease<br />
the volume.<br />
Display Lighting<br />
The LCD backlighting activates<br />
automatically whenever a key is pressed<br />
and turns off automatically after about 5<br />
seconds.<br />
Receiving Signals<br />
While the TX680 is not receiving signals,<br />
it will remain in the Standby mode to<br />
conserve battery power. When a signal is<br />
received, the LED indicator on the upper<br />
edge of the radio will light Green and the<br />
icon will appear on the display. Adjust<br />
the volume control for a comfortable<br />
listening level.<br />
If the incoming signal is encoded with a<br />
CTCSS tone that matches the one set in<br />
your radio, the LED indicator will light<br />
Orange and you will be able to hear the<br />
signal in the speaker.<br />
If the LED indicator lights Green and<br />
the icon appears but you cannot hear<br />
the signal, it is likely that your radio has<br />
CTCSS enabled and the incoming signal is<br />
not using your selected CTCSS tone (see<br />
Mode Settings for more details on CTCSS<br />
settings).<br />
If no further signals are received, the unit<br />
will return to standby mode.<br />
Transmitting<br />
To transmit, press and hold the Push-To-<br />
Talk (PTT) switch. The other radio you<br />
are talking to must be set to the same<br />
channel (and CTCSS code if applicable).<br />
Hold the TX680 approximately 5 to 8 cms<br />
from your face with the antenna vertical<br />
and speak into the built-in microphone.<br />
While the PTT switch is pressed, the LED<br />
indicator on the upper edge of the radio<br />
will light RED and the icon will appear<br />
on the LCD.<br />
When you have finished speaking, release<br />
the PTT switch to receive incoming signals<br />
(it is not possible to transmit and receive<br />
at the same time). If no further signals are<br />
received, the unit will revert to standby<br />
mode.<br />
TIP: The PTT switch can also be used to<br />
to transmit a Call Alarm melody. When<br />
the Call Alarm melody is enabled (see<br />
Mode settings for more details on the Call<br />
Alarm settings), pressing the PTT switch<br />
twice quickly will call another party on<br />
the same channel and play the Call Alarm<br />
melody in their radio’s speaker. When this<br />
happens, the icon will appear and the<br />
LED indicator will light RED for about 5<br />
seconds. The call alarm can only be sent<br />
once per minute.<br />
Selecting Channels<br />
In the ‘Standby’ mode, press the key to<br />
step up one channel or the key to step<br />
down one channel.<br />
Press and hold the or keys to<br />
quickly scroll through the channels.<br />
SQL Key<br />
The SQL key is a dual function key that<br />
controls both the Squelch and CTCSS<br />
Squelch<br />
To open the squelch, briefly press the<br />
SQL key. This will allow you to check<br />
the current channel for activity before<br />
transmitting, particularly if you have<br />
CTCSS enabled. When the squelch is<br />
open, the LED indicator on the upper<br />
edge of the radio will light Green, the<br />
icon will appear on the display and<br />
you will hear static or hiss if the channel<br />
is clear. Do not transmit if you hear any<br />
conversations. Briefly press the SQL key<br />
again to close the squelch.<br />
CTCSS<br />
Press and hold the SQL key to activate<br />
or deactivate CTCSS. When activated,<br />
the ‘CTC’ icon will appear on the display,<br />
along with the selected CTCSS code.<br />
Note: To activate or deactivate CTCSS,<br />
the current channel must have a CTCSS<br />
code selected via the MODE key (See<br />
MODE key settings for more details).<br />
Duplex/Monitor Key<br />
The Duplex/Monitor key is a dual<br />
function key that controls both the Duplex<br />
and Monitor functions.<br />
DUP Key<br />
Press this button to select Duplex mode<br />
on channels 1 – 8 and 41 – 48. Duplex<br />
can be enabled or disabled separately on<br />
individual channels.<br />
Duplex operation allows the TX680 to<br />
transmit on a different frequency to that<br />
which it receives. This allows operation<br />
through repeater stations in your area.<br />
Repeaters automatically re-transmit your<br />
signal over a much wider area, providing<br />
greatly increased range. The Duplex mode<br />
only works on channels 1 – 8 and 41 –<br />
48. With Duplex selected, your TX680<br />
actually transmits 30 channels higher than<br />
it receives.<br />
To Activate the Duplex Mode<br />
Select a duplex channel (1 – 8 or 41<br />
– 48). Briefly press the DUP button to<br />
toggle duplex on or off on that channel.<br />
When Duplex mode is enabled on the<br />
selected channel, ‘DUP’ appears on the<br />
display.<br />
Page 10 INSTRUCTION MANUAL TX680 TX680 INSTRUCTION MANUAL Page 11


