
Create successful ePaper yourself
Turn your PDF publications into a flip-book with our unique Google optimized e-Paper software.
HP-535 Nov. 1998<br />
TEST MODE<br />
Note!:<br />
When you enter item 8), the user setting data will be set to the factory settings.<br />
Required items<br />
• MIDI cable (1.5m or linger Part No.23485229 1.5m)<br />
• Computer test cable for SOUND CANVAS SC-88 (Part No.17049906)<br />
• Microphone<br />
• Oscilloscope<br />
1. Entering test mode<br />
After turning on the power, press the [Function] button to enter Function mode.<br />
(The LED of each button will blink.)<br />
Then while holding down the [Track 2] button and the [Play] button, press the [Function] button. The following display will appear, and you<br />
will enter test mode.<br />
V*** : version number<br />
B*** : build number<br />
*** : destination region (DOM: 100V specs, EXP: export specs)<br />
C*** : CPU build number<br />
* (Build number) and (CPU build number) are generally not displayed in the LCD, but some units of the initial production lot do display<br />
these. This number are displayed for Factory Purpose only, please ignore when you execute test mode.<br />
Press the [Function] button to move to item 2.<br />
* To advance to the next item you will generally use the [Function] button.<br />
For some items, you will advance automatically, so refer to the explanation of each item.<br />
* If you wish to exit test mode during this procedure, turn off the power.<br />
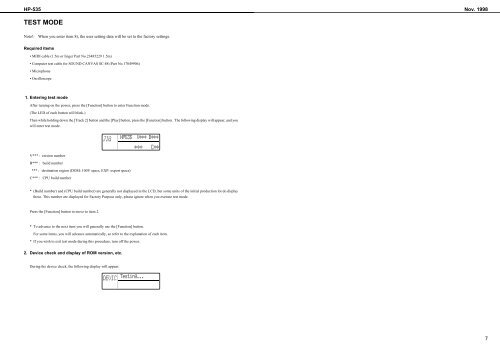
2. Device check and display of ROM version, etc.<br />
During the device check, the following display will appear.<br />
7