FlashRunner FR01ENG User's Manual - Ahlers EDV Systeme GmbH
FlashRunner FR01ENG User's Manual - Ahlers EDV Systeme GmbH
FlashRunner FR01ENG User's Manual - Ahlers EDV Systeme GmbH

You also want an ePaper? Increase the reach of your titles
YUMPU automatically turns print PDFs into web optimized ePapers that Google loves.
System Setup<br />
2<br />
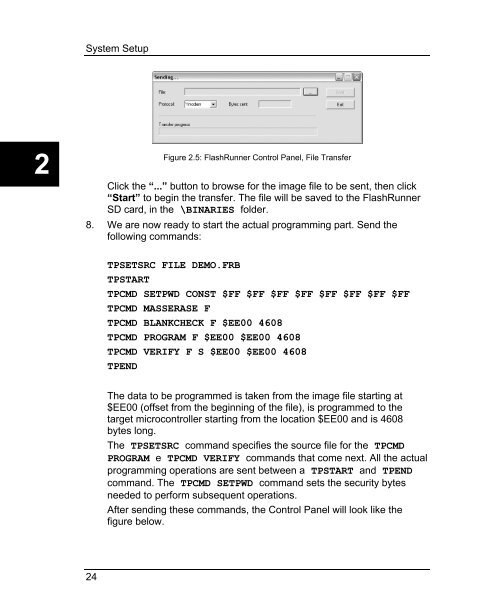
Figure 2.5: <strong>FlashRunner</strong> Control Panel, File Transfer<br />
Click the “...” button to browse for the image file to be sent, then click<br />
“Start” to begin the transfer. The file will be saved to the <strong>FlashRunner</strong><br />
SD card, in the \BINARIES folder.<br />
8. We are now ready to start the actual programming part. Send the<br />
following commands:<br />
TPSETSRC FILE DEMO.FRB<br />
TPSTART<br />
TPCMD SETPWD CONST $FF $FF $FF $FF $FF $FF $FF $FF<br />
TPCMD MASSERASE F<br />
TPCMD BLANKCHECK F $EE00 4608<br />
TPCMD PROGRAM F $EE00 $EE00 4608<br />
TPCMD VERIFY F S $EE00 $EE00 4608<br />
TPEND<br />
The data to be programmed is taken from the image file starting at<br />
$EE00 (offset from the beginning of the file), is programmed to the<br />
target microcontroller starting from the location $EE00 and is 4608<br />
bytes long.<br />
The TPSETSRC command specifies the source file for the TPCMD<br />
PROGRAM e TPCMD VERIFY commands that come next. All the actual<br />
programming operations are sent between a TPSTART and TPEND<br />
command. The TPCMD SETPWD command sets the security bytes<br />
needed to perform subsequent operations.<br />
After sending these commands, the Control Panel will look like the<br />
figure below.<br />
24