SCREEN PRINTING 101 - Signwarehouse.com
SCREEN PRINTING 101 - Signwarehouse.com
SCREEN PRINTING 101 - Signwarehouse.com

Create successful ePaper yourself
Turn your PDF publications into a flip-book with our unique Google optimized e-Paper software.
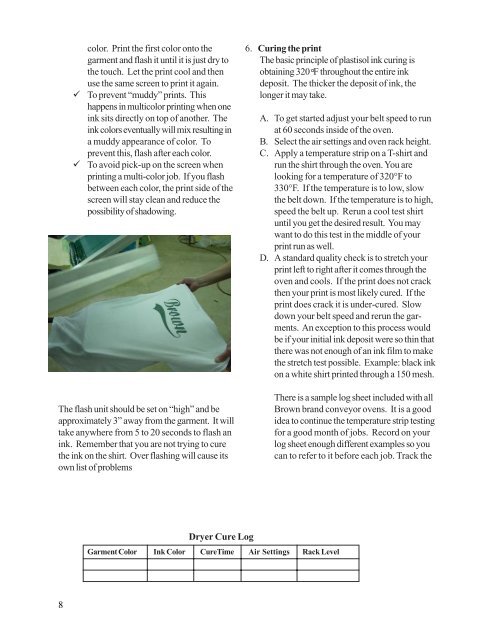
color. Print the first color onto the<br />
garment and flash it until it is just dry to<br />
the touch. Let the print cool and then<br />
use the same screen to print it again.<br />
To prevent “muddy” prints. This<br />
happens in multicolor printing when one<br />
ink sits directly on top of another. The<br />
ink colors eventually will mix resulting in<br />
a muddy appearance of color. To<br />
prevent this, flash after each color.<br />
To avoid pick-up on the screen when<br />
printing a multi-color job. If you flash<br />
between each color, the print side of the<br />
screen will stay clean and reduce the<br />
possibility of shadowing.<br />
The flash unit should be set on “high” and be<br />
approximately 3” away from the garment. It will<br />
take anywhere from 5 to 20 seconds to flash an<br />
ink. Remember that you are not trying to cure<br />
the ink on the shirt. Over flashing will cause its<br />
own list of problems<br />
6. Curing the print<br />
The basic principle of plastisol ink curing is<br />
obtaining 320°F throughout the entire ink<br />
deposit. The thicker the deposit of ink, the<br />
longer it may take.<br />
A. To get started adjust your belt speed to run<br />
at 60 seconds inside of the oven.<br />
B. Select the air settings and oven rack height.<br />
C. Apply a temperature strip on a T-shirt and<br />
run the shirt through the oven. You are<br />
looking for a temperature of 320°F to<br />
330°F. If the temperature is to low, slow<br />
the belt down. If the temperature is to high,<br />
speed the belt up. Rerun a cool test shirt<br />
until you get the desired result. You may<br />
want to do this test in the middle of your<br />
print run as well.<br />
D. A standard quality check is to stretch your<br />
print left to right after it <strong>com</strong>es through the<br />
oven and cools. If the print does not crack<br />
then your print is most likely cured. If the<br />
print does crack it is under-cured. Slow<br />
down your belt speed and rerun the garments.<br />
An exception to this process would<br />
be if your initial ink deposit were so thin that<br />
there was not enough of an ink film to make<br />
the stretch test possible. Example: black ink<br />
on a white shirt printed through a 150 mesh.<br />
There is a sample log sheet included with all<br />
Brown brand conveyor ovens. It is a good<br />
idea to continue the temperature strip testing<br />
for a good month of jobs. Record on your<br />
log sheet enough different examples so you<br />
can to refer to it before each job. Track the<br />
Dryer Cure Log<br />
Garment Color Ink Color CureTime Air Settings Rack Level<br />
8