MultiModem® ZDX MT5656ZDX User Guide - Multi-Tech Systems
MultiModem® ZDX MT5656ZDX User Guide - Multi-Tech Systems
MultiModem® ZDX MT5656ZDX User Guide - Multi-Tech Systems

You also want an ePaper? Increase the reach of your titles
YUMPU automatically turns print PDFs into web optimized ePapers that Google loves.
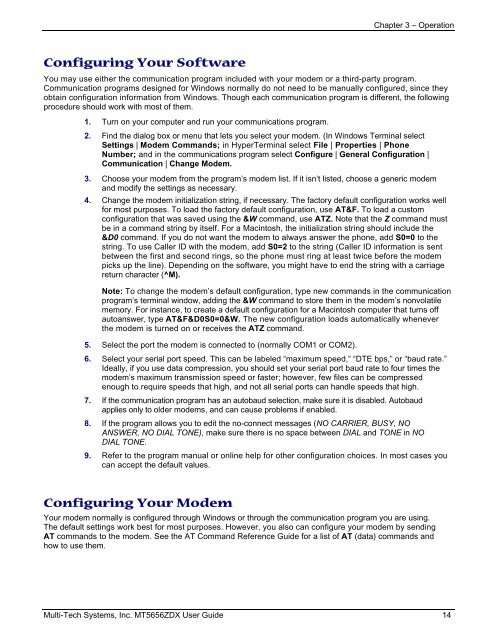
Configuring Your Software<br />
Chapter 3 – Operation<br />
You may use either the communication program included with your modem or a third-party program.<br />
Communication programs designed for Windows normally do not need to be manually configured, since they<br />
obtain configuration information from Windows. Though each communication program is different, the following<br />
procedure should work with most of them.<br />
1. Turn on your computer and run your communications program.<br />
2. Find the dialog box or menu that lets you select your modem. (In Windows Terminal select<br />
Settings | Modem Commands; in HyperTerminal select File | Properties | Phone<br />
Number; and in the communications program select Configure | General Configuration |<br />
Communication | Change Modem.<br />
3. Choose your modem from the program’s modem list. If it isn’t listed, choose a generic modem<br />
and modify the settings as necessary.<br />
4. Change the modem initialization string, if necessary. The factory default configuration works well<br />
for most purposes. To load the factory default configuration, use AT&F. To load a custom<br />
configuration that was saved using the &W command, use ATZ. Note that the Z command must<br />
be in a command string by itself. For a Macintosh, the initialization string should include the<br />
&D0 command. If you do not want the modem to always answer the phone, add S0=0 to the<br />
string. To use Caller ID with the modem, add S0=2 to the string (Caller ID information is sent<br />
between the first and second rings, so the phone must ring at least twice before the modem<br />
picks up the line). Depending on the software, you might have to end the string with a carriage<br />
return character (^M).<br />
Note: To change the modem’s default configuration, type new commands in the communication<br />
program’s terminal window, adding the &W command to store them in the modem’s nonvolatile<br />
memory. For instance, to create a default configuration for a Macintosh computer that turns off<br />
autoanswer, type AT&F&D0S0=0&W. The new configuration loads automatically whenever<br />
the modem is turned on or receives the ATZ command.<br />
5. Select the port the modem is connected to (normally COM1 or COM2).<br />
6. Select your serial port speed. This can be labeled “maximum speed,” “DTE bps,” or “baud rate.”<br />
Ideally, if you use data compression, you should set your serial port baud rate to four times the<br />
modem’s maximum transmission speed or faster; however, few files can be compressed<br />
enough to require speeds that high, and not all serial ports can handle speeds that high.<br />
7. If the communication program has an autobaud selection, make sure it is disabled. Autobaud<br />
applies only to older modems, and can cause problems if enabled.<br />
8. If the program allows you to edit the no-connect messages (NO CARRIER, BUSY, NO<br />
ANSWER, NO DIAL TONE), make sure there is no space between DIAL and TONE in NO<br />
DIAL TONE.<br />
9. Refer to the program manual or online help for other configuration choices. In most cases you<br />
can accept the default values.<br />
Configuring Your Modem<br />
Your modem normally is configured through Windows or through the communication program you are using.<br />
The default settings work best for most purposes. However, you also can configure your modem by sending<br />
AT commands to the modem. See the AT Command Reference <strong>Guide</strong> for a list of AT (data) commands and<br />
how to use them.<br />
<strong>Multi</strong>-<strong>Tech</strong> <strong>Systems</strong>, Inc. MT5656<strong>ZDX</strong> <strong>User</strong> <strong>Guide</strong> 14