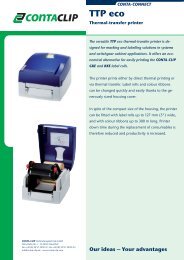
EMS-2 Operating Instructions - CONTA-CLIP
EMS-2 Operating Instructions - CONTA-CLIP
EMS-2 Operating Instructions - CONTA-CLIP

You also want an ePaper? Increase the reach of your titles
YUMPU automatically turns print PDFs into web optimized ePapers that Google loves.
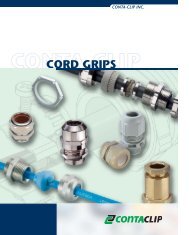
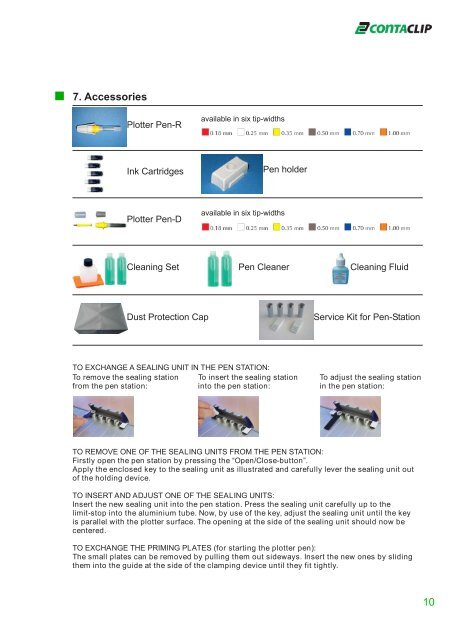
7. Accessories<br />
Plotter Pen-R<br />
available in six tip-widths<br />
Ink Cartridges<br />
Pen holder<br />
Plotter Pen-D<br />
available in six tip-widths<br />
Cleaning Set Pen Cleaner Cleaning Fluid<br />
Dust Protection Cap<br />
Service Kit for Pen-Station<br />
TO EXCHANGE A SEALING UNIT IN THE PEN STATION:<br />
To remove the sealing station To insert the sealing station<br />
from the pen station:<br />
into the pen station:<br />
To adjust the sealing station<br />
in the pen station:<br />
TO REMOVE ONE OF THE SEALING UNITS FROM THE PEN STATION:<br />
Firstly open the pen station by pressing the “Open/Close-button”.<br />
Apply the enclosed key to the sealing unit as illustrated and carefully lever the sealing unit out<br />
of the holding device.<br />
TO INSERT AND ADJUST ONE OF THE SEALING UNITS:<br />
Insert the new sealing unit into the pen station. Press the sealing unit carefully up to the<br />
limit-stop into the aluminium tube. Now, by use of the key, adjust the sealing unit until the key<br />
is parallel with the plotter surface. The opening at the side of the sealing unit should now be<br />
centered.<br />
TO EXCHANGE THE PRIMING PLATES (for starting the plotter pen):<br />
The small plates can be removed by pulling them out sideways. Insert the new ones by sliding<br />
them into the guide at the side of the clamping device until they fit tightly.<br />
10