EMS-2 Operating Instructions - CONTA-CLIP
EMS-2 Operating Instructions - CONTA-CLIP
EMS-2 Operating Instructions - CONTA-CLIP
You also want an ePaper? Increase the reach of your titles
YUMPU automatically turns print PDFs into web optimized ePapers that Google loves.
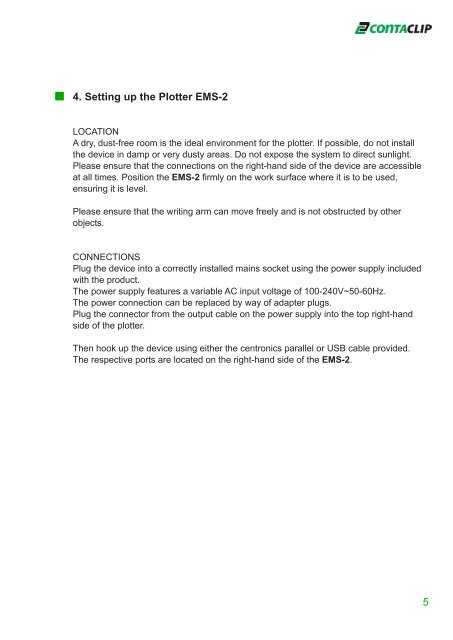
4. Setting up the Plotter <strong>EMS</strong>-2<br />
LOCATION<br />
A dry, dust-free room is the ideal environment for the plotter. If possible, do not install<br />
the device in damp or very dusty areas. Do not expose the system to direct sunlight.<br />
Please ensure that the connections on the right-hand side of the device are accessible<br />
at all times. Position the <strong>EMS</strong>-2 firmly on the work surface where it is to be used,<br />
ensuring it is level.<br />
Please ensure that the writing arm can move freely and is not obstructed by other<br />
objects.<br />
CONNECTIONS<br />
Plug the device into a correctly installed mains socket using the power supply included<br />
with the product.<br />
The power supply features a variable AC input voltage of 100-240V~50-60Hz.<br />
The power connection can be replaced by way of adapter plugs.<br />
Plug the connector from the output cable on the power supply into the top right-hand<br />
side of the plotter.<br />
Then hook up the device using either the centronics parallel or USB cable provided.<br />
The respective ports are located on the right-hand side of the <strong>EMS</strong>-2.<br />
5


