Cyborg 06 - MacDev
Cyborg 06 - MacDev
Cyborg 06 - MacDev
Create successful ePaper yourself
Turn your PDF publications into a flip-book with our unique Google optimized e-Paper software.
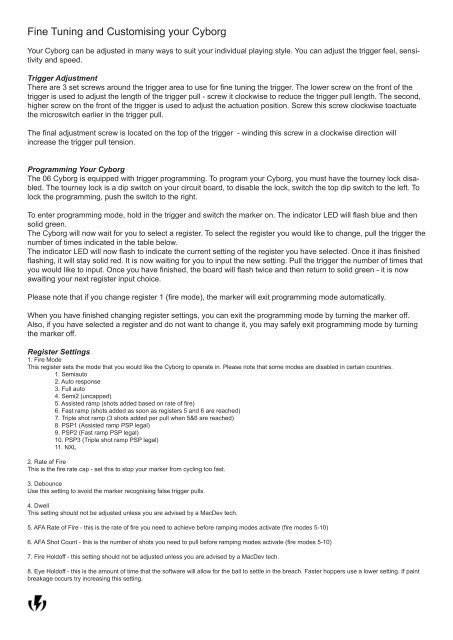
Fine Tuning and Customising your <strong>Cyborg</strong><br />
Your <strong>Cyborg</strong> can be adjusted in many ways to suit your individual playing style. You can adjust the trigger feel, sensitivity<br />
and speed.<br />
Trigger Adjustment<br />
There are 3 set screws around the trigger area to use for fine tuning the trigger. The lower screw on the front of the<br />
trigger is used to adjust the length of the trigger pull - screw it clockwise to reduce the trigger pull length. The second,<br />
higher screw on the front of the trigger is used to adjust the actuation position. Screw this screw clockwise toactuate<br />
the microswitch earlier in the trigger pull.<br />
The final adjustment screw is located on the top of the trigger - winding this screw in a clockwise direction will<br />
increase the trigger pull tension.<br />
Programming Your <strong>Cyborg</strong><br />
The <strong>06</strong> <strong>Cyborg</strong> is equipped with trigger programming. To program your <strong>Cyborg</strong>, you must have the tourney lock disabled.<br />
The tourney lock is a dip switch on your circuit board, to disable the lock, switch the top dip switch to the left. To<br />
lock the programming, push the switch to the right.<br />
To enter programming mode, hold in the trigger and switch the marker on. The indicator LED will flash blue and then<br />
solid green.<br />
The <strong>Cyborg</strong> will now wait for you to select a register. To select the register you would like to change, pull the trigger the<br />
number of times indicated in the table below.<br />
The indicator LED will now flash to indicate the current setting of the register you have selected. Once it ihas finished<br />
flashing, it will stay solid red. It is now waiting for you to input the new setting. Pull the trigger the number of times that<br />
you would like to input. Once you have finished, the board will flash twice and then return to solid green - it is now<br />
awaiting your next register input choice.<br />
Please note that if you change register 1 (fire mode), the marker will exit programming mode automatically.<br />
When you have finished changing register settings, you can exit the programming mode by turning the marker off.<br />
Also, if you have selected a register and do not want to change it, you may safely exit programming mode by turning<br />
the marker off.<br />
Register Settings<br />
1. Fire Mode<br />
This register sets the mode that you would like the <strong>Cyborg</strong> to operate in. Please note that some modes are disabled in certain countries.<br />
1. Semiauto<br />
2. Auto response<br />
3. Full auto<br />
4. Semi2 (uncapped)<br />
5. Assisted ramp (shots added based on rate of fire)<br />
6. Fast ramp (shots added as soon as registers 5 and 6 are reached)<br />
7. Triple shot ramp (3 shots added per pull when 5&6 are reached)<br />
8. PSP1 (Assisted ramp PSP legal)<br />
9. PSP2 (Fast ramp PSP legal)<br />
10. PSP3 (Triple shot ramp PSP legal)<br />
11. NXL<br />
2. Rate of Fire<br />
This is the fire rate cap - set this to stop your marker from cycling too fast.<br />
3. Debounce<br />
Use this setting to avoid the marker recognising false trigger pulls.<br />
4. Dwell<br />
This setting should not be adjusted unless you are advised by a <strong>MacDev</strong> tech.<br />
5. AFA Rate of Fire - this is the rate of fire you need to achieve before ramping modes activate (fire modes 5-10)<br />
6. AFA Shot Count - this is the number of shots you need to pull before ramping modes activate (fire modes 5-10)<br />
7. Fire Holdoff - this setting should not be adjusted unless you are advised by a <strong>MacDev</strong> tech.<br />
8. Eye Holdoff - this is the amount of time that the software will allow for the ball to settle in the breach. Faster hoppers use a lower setting. If paint<br />
breakage occurs try increasing this setting.


