Data Entry.pdf - Carlson Software
Data Entry.pdf - Carlson Software
Data Entry.pdf - Carlson Software

You also want an ePaper? Increase the reach of your titles
YUMPU automatically turns print PDFs into web optimized ePapers that Google loves.
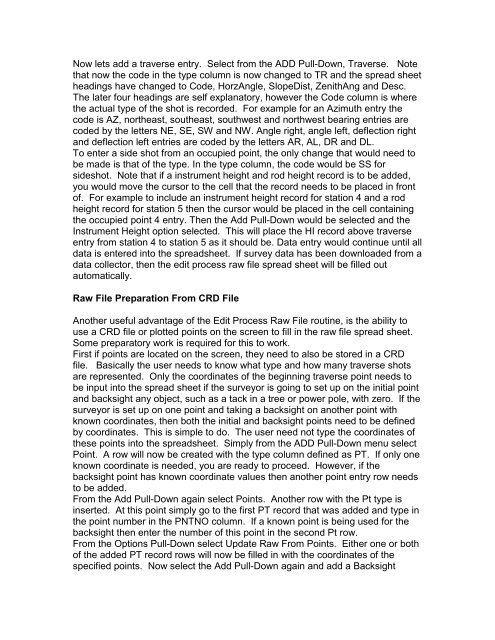
Now lets add a traverse entry. Select from the ADD Pull-Down, Traverse. Note<br />
that now the code in the type column is now changed to TR and the spread sheet<br />
headings have changed to Code, HorzAngle, SlopeDist, ZenithAng and Desc.<br />
The later four headings are self explanatory, however the Code column is where<br />
the actual type of the shot is recorded. For example for an Azimuth entry the<br />
code is AZ, northeast, southeast, southwest and northwest bearing entries are<br />
coded by the letters NE, SE, SW and NW. Angle right, angle left, deflection right<br />
and deflection left entries are coded by the letters AR, AL, DR and DL.<br />
To enter a side shot from an occupied point, the only change that would need to<br />
be made is that of the type. In the type column, the code would be SS for<br />
sideshot. Note that if a instrument height and rod height record is to be added,<br />
you would move the cursor to the cell that the record needs to be placed in front<br />
of. For example to include an instrument height record for station 4 and a rod<br />
height record for station 5 then the cursor would be placed in the cell containing<br />
the occupied point 4 entry. Then the Add Pull-Down would be selected and the<br />
Instrument Height option selected. This will place the HI record above traverse<br />
entry from station 4 to station 5 as it should be. <strong>Data</strong> entry would continue until all<br />
data is entered into the spreadsheet. If survey data has been downloaded from a<br />
data collector, then the edit process raw file spread sheet will be filled out<br />
automatically.<br />
Raw File Preparation From CRD File<br />
Another useful advantage of the Edit Process Raw File routine, is the ability to<br />
use a CRD file or plotted points on the screen to fill in the raw file spread sheet.<br />
Some preparatory work is required for this to work.<br />
First if points are located on the screen, they need to also be stored in a CRD<br />
file. Basically the user needs to know what type and how many traverse shots<br />
are represented. Only the coordinates of the beginning traverse point needs to<br />
be input into the spread sheet if the surveyor is going to set up on the initial point<br />
and backsight any object, such as a tack in a tree or power pole, with zero. If the<br />
surveyor is set up on one point and taking a backsight on another point with<br />
known coordinates, then both the initial and backsight points need to be defined<br />
by coordinates. This is simple to do. The user need not type the coordinates of<br />
these points into the spreadsheet. Simply from the ADD Pull-Down menu select<br />
Point. A row will now be created with the type column defined as PT. If only one<br />
known coordinate is needed, you are ready to proceed. However, if the<br />
backsight point has known coordinate values then another point entry row needs<br />
to be added.<br />
From the Add Pull-Down again select Points. Another row with the Pt type is<br />
inserted. At this point simply go to the first PT record that was added and type in<br />
the point number in the PNTNO column. If a known point is being used for the<br />
backsight then enter the number of this point in the second Pt row.<br />
From the Options Pull-Down select Update Raw From Points. Either one or both<br />
of the added PT record rows will now be filled in with the coordinates of the<br />
specified points. Now select the Add Pull-Down again and add a Backsight