Exploring the Great Outdoors - Meridian International Center
Exploring the Great Outdoors - Meridian International Center
Exploring the Great Outdoors - Meridian International Center

You also want an ePaper? Increase the reach of your titles
YUMPU automatically turns print PDFs into web optimized ePapers that Google loves.
Summer<br />
Activities<br />
Salt Water Painting<br />
Materials: salt, paper, containers, water, paint brushes,<br />
food coloring, measuring cups<br />
Procedure:<br />
1. Mix 1/4 cup warm water with 1/4 cup of salt in a container. Then add several drops of food<br />
coloring to <strong>the</strong> mixture, one color per container.<br />
2. Using paint brushes, paint onto paper with <strong>the</strong> salt water mixture. Be sure to share <strong>the</strong><br />
different colors of <strong>the</strong> mixture!<br />
3. Lay <strong>the</strong> paintings to dry overnight. The water will evaporate from <strong>the</strong> paper, leaving <strong>the</strong><br />
colored salt on <strong>the</strong> paper.<br />
4. Show off your new cool salt-art!<br />
Materials: Two sheets of newspaper,<br />
colored paper (including<br />
one large sheet), kite string,<br />
fabric scraps, glue, tape,<br />
markers<br />
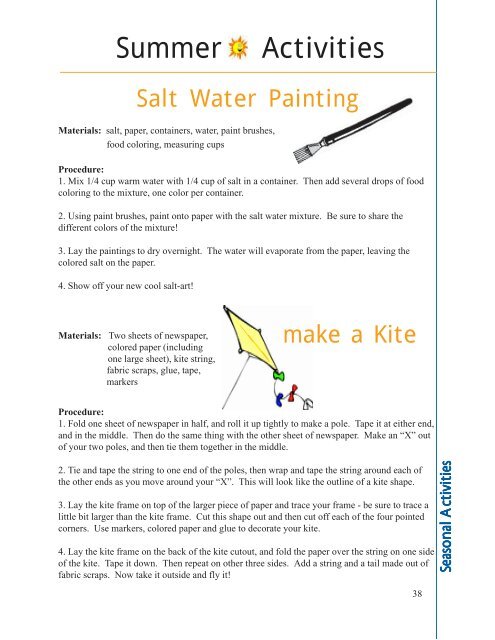
make a Kite<br />
Procedure:<br />
1. Fold one sheet of newspaper in half, and roll it up tightly to make a pole. Tape it at ei<strong>the</strong>r end,<br />
and in <strong>the</strong> middle. Then do <strong>the</strong> same thing with <strong>the</strong> o<strong>the</strong>r sheet of newspaper. Make an “X” out<br />
of your two poles, and <strong>the</strong>n tie <strong>the</strong>m toge<strong>the</strong>r in <strong>the</strong> middle.<br />
2. Tie and tape <strong>the</strong> string to one end of <strong>the</strong> poles, <strong>the</strong>n wrap and tape <strong>the</strong> string around each of<br />
<strong>the</strong> o<strong>the</strong>r ends as you move around your “X”. This will look like <strong>the</strong> outline of a kite shape.<br />
3. Lay <strong>the</strong> kite frame on top of <strong>the</strong> larger piece of paper and trace your frame - be sure to trace a<br />
little bit larger than <strong>the</strong> kite frame. Cut this shape out and <strong>the</strong>n cut off each of <strong>the</strong> four pointed<br />
corners. Use markers, colored paper and glue to decorate your kite.<br />
4. Lay <strong>the</strong> kite frame on <strong>the</strong> back of <strong>the</strong> kite cutout, and fold <strong>the</strong> paper over <strong>the</strong> string on one side<br />
of <strong>the</strong> kite. Tape it down. Then repeat on o<strong>the</strong>r three sides. Add a string and a tail made out of<br />
fabric scraps. Now take it outside and fly it!<br />
Seasonal Activities<br />
38