CREATING A NEWSPAPER USING MICROSOFT PUBLISHER
CREATING A NEWSPAPER USING MICROSOFT PUBLISHER
CREATING A NEWSPAPER USING MICROSOFT PUBLISHER

Create successful ePaper yourself
Turn your PDF publications into a flip-book with our unique Google optimized e-Paper software.
<strong>CREATING</strong> A <strong>NEWSPAPER</strong><br />
<strong>USING</strong> <strong>MICROSOFT</strong> <strong>PUBLISHER</strong><br />
Publisher is the desktop publishing application for Windows that allows users with little<br />
or no design experience to create professional quality publications in a few easy steps. In<br />
Publisher, you will see many pre-designed publications that you can use for your own<br />
work. Wizard design assistants walk you through the creation of brochures, newsletters<br />
,greeting cards, flyers, coupons, business forms, invitations and more, then create the<br />
layout for you.<br />
Step 1: Before you begin.<br />
Gather all of the information (pictures, clipart, text) that you wish to add to your<br />
newsletter. You may copy and paste items from and program in Microsoft Office.<br />
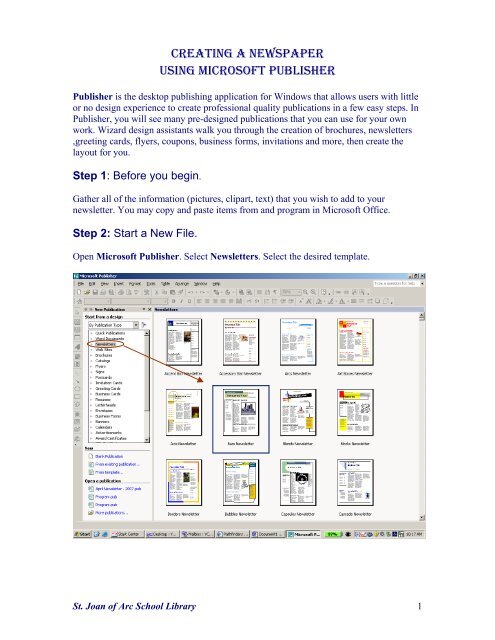
Step 2: Start a New File.<br />
Open Microsoft Publisher. Select Newsletters. Select the desired template.<br />
St. Joan of Arc School Library 1
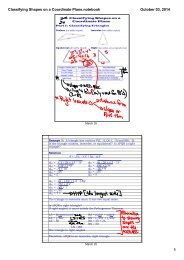
Step 3: Adjust the view<br />
Page indicator. You may add or delete pages as needed. Use this icon to move back and<br />
forth between pages.<br />
Select the drop down menu to access additional task panes.<br />
Select Page Content to change columns and styles.<br />
St. Joan of Arc School Library 2
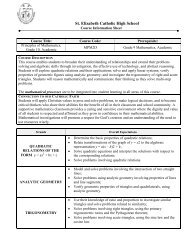
Select Publication Design to change the overall design of the<br />
Newsletter. There are 49 different layouts and designs to choose<br />
from.<br />
Select Colour Schemes and Font Schemes to format the newsletter.<br />
Step 4:How to Write Inside a Text Frame:<br />
Click on the Text Frame.<br />
Eight resizing handles will surround<br />
the text frame.<br />
Bring your cursor inside the Text<br />
box and type your desired caption.<br />
Use any of the available formatting<br />
features to change font, colour, and<br />
size. Press the Enter when done or<br />
click outside the text frame.<br />
St. Joan of Arc School Library 3
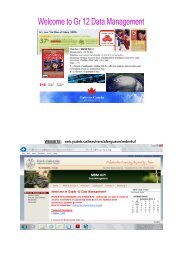
Step 5: How to Insert a Picture Inside the Picture Frame:<br />
Double click inside the Picture Frame to insert Clip Art or click Insert on the menu<br />
toolbar. Point to and click on the Picture, and then click on From File. An Insert<br />
Picture dialog box will appear. Locate the picture on your computer and double click<br />
on the picture or click the Insert button.<br />
To format a picture, click on the image. A Format Object dialog box will appear.<br />
Use this box to adjust colour, size, layout and add text boxes.<br />
St. Joan of Arc School Library 4
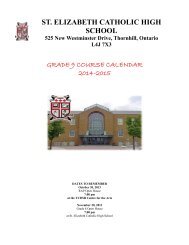
The Status bar is located at the bottom of the workspace. It provides the precise<br />
information about the location of the pointer and the dimensions of the objects<br />
currently selected. It shows an icon for each page in the publication.<br />
With continued works and customization, you will soon be ready to print your<br />
newsletter.<br />
For more precise information on Publisher tools and to further customize your<br />
newsletter, go to the Microsoft Publisher Help file.<br />
St. Joan of Arc School Library 5