The Complete Amiga 1200 User Guide by Peter ... - TU Berlin
The Complete Amiga 1200 User Guide by Peter ... - TU Berlin
The Complete Amiga 1200 User Guide by Peter ... - TU Berlin
- No tags were found...

You also want an ePaper? Increase the reach of your titles
YUMPU automatically turns print PDFs into web optimized ePapers that Google loves.
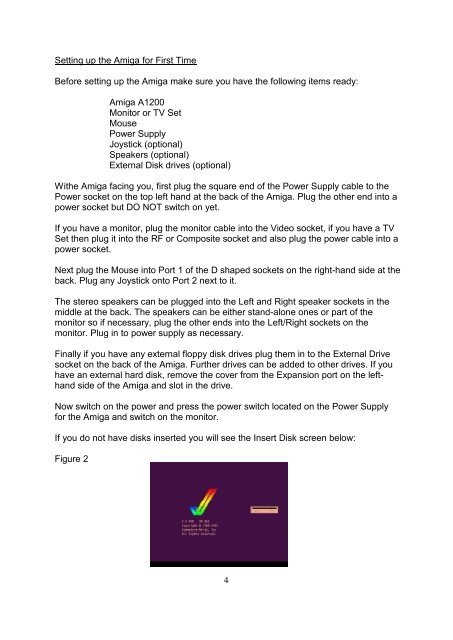
Setting up the <strong>Amiga</strong> for First TimeBefore setting up the <strong>Amiga</strong> make sure you have the following items ready:<strong>Amiga</strong> A<strong>1200</strong>Monitor or TV SetMousePower SupplyJoystick (optional)Speakers (optional)External Disk drives (optional)Withe <strong>Amiga</strong> facing you, first plug the square end of the Power Supply cable to thePower socket on the top left hand at the back of the <strong>Amiga</strong>. Plug the other end into apower socket but DO NOT switch on yet.If you have a monitor, plug the monitor cable into the Video socket, if you have a TVSet then plug it into the RF or Composite socket and also plug the power cable into apower socket.Next plug the Mouse into Port 1 of the D shaped sockets on the right-hand side at theback. Plug any Joystick onto Port 2 next to it.<strong>The</strong> stereo speakers can be plugged into the Left and Right speaker sockets in themiddle at the back. <strong>The</strong> speakers can be either stand-alone ones or part of themonitor so if necessary, plug the other ends into the Left/Right sockets on themonitor. Plug in to power supply as necessary.Finally if you have any external floppy disk drives plug them in to the External Drivesocket on the back of the <strong>Amiga</strong>. Further drives can be added to other drives. If youhave an external hard disk, remove the cover from the Expansion port on the lefthandside of the <strong>Amiga</strong> and slot in the drive.Now switch on the power and press the power switch located on the Power Supplyfor the <strong>Amiga</strong> and switch on the monitor.If you do not have disks inserted you will see the Insert Disk screen below:Figure 24