BEST 9K Series Service Manual - Locksmith Security Association of ...
BEST 9K Series Service Manual - Locksmith Security Association of ...
BEST 9K Series Service Manual - Locksmith Security Association of ...
- No tags were found...

Create successful ePaper yourself
Turn your PDF publications into a flip-book with our unique Google optimized e-Paper software.
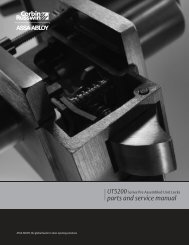
<strong>Service</strong> and Maintenance8. Align the feet <strong>of</strong> the retractor assembly with the notches in theoutside hub assembly, and the rose locking pin with the smaller <strong>of</strong>the two holes on the outside assembly, as shown in Figure 3.23.Press the retractor toward the retractor springs and slide the twosections together.Notch in the inside hubFoot <strong>of</strong> the retractor assemblyRose locking pin holeNotch in the inside hubFoot <strong>of</strong> the retractor assemblyRose locking pinFigure 3.23Installing the retractor assembly9. Install the two chassis screws.10. Replace the following components:■ button assembly, if present (page 3–8)■ roses and rose liners (page 3–5 and page 3–6)■ levers (page 3–3).Replacing thekey releasecam assemblyTo remove the key release cam assembly:1. Remove the following components:■ levers (page 3–3)■ roses and rose liners (page 3–4 and page 3–5)■ button assembly, if present (page 3–7)■ lever return spring (page 3–10).2. Pull the key release cam assembly out <strong>of</strong> the sleeve.SleeveKey release cam assemblyFigure 3.24Removing the key release cam assembly3–14 <strong>9K</strong> <strong>Series</strong> <strong>Service</strong> <strong>Manual</strong>