Tankless Rack System - Rinnai
Tankless Rack System - Rinnai
Tankless Rack System - Rinnai
You also want an ePaper? Increase the reach of your titles
YUMPU automatically turns print PDFs into web optimized ePapers that Google loves.
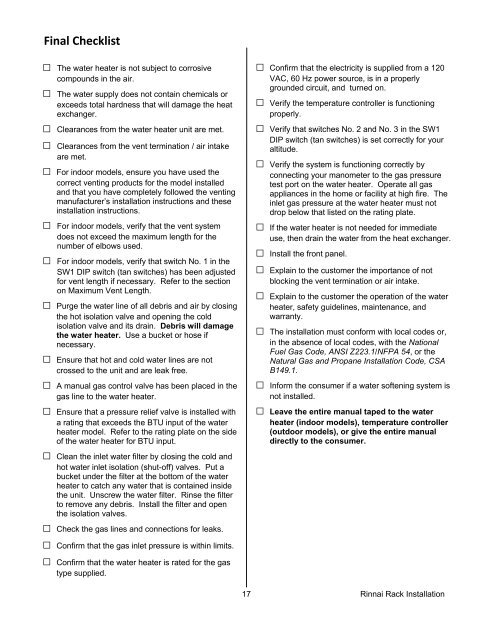
Final Checklist□ The water heater is not subject to corrosivecompounds in the air.□ The water supply does not contain chemicals orexceeds total hardness that will damage the heatexchanger.□ Clearances from the water heater unit are met.□ Clearances from the vent termination / air intakeare met.□ For indoor models, ensure you have used thecorrect venting products for the model installedand that you have completely followed the ventingmanufacturer’s installation instructions and theseinstallation instructions.□ For indoor models, verify that the vent systemdoes not exceed the maximum length for thenumber of elbows used.□ For indoor models, verify that switch No. 1 in theSW1 DIP switch (tan switches) has been adjustedfor vent length if necessary. Refer to the sectionon Maximum Vent Length.□ Purge the water line of all debris and air by closingthe hot isolation valve and opening the coldisolation valve and its drain. Debris will damagethe water heater. Use a bucket or hose ifnecessary.□ Ensure that hot and cold water lines are notcrossed to the unit and are leak free.□ A manual gas control valve has been placed in thegas line to the water heater.□ Ensure that a pressure relief valve is installed witha rating that exceeds the BTU input of the waterheater model. Refer to the rating plate on the sideof the water heater for BTU input.□ Clean the inlet water filter by closing the cold andhot water inlet isolation (shut-off) valves. Put abucket under the filter at the bottom of the waterheater to catch any water that is contained insidethe unit. Unscrew the water filter. Rinse the filterto remove any debris. Install the filter and openthe isolation valves.□ Check the gas lines and connections for leaks.□ Confirm that the gas inlet pressure is within limits.□ Confirm that the water heater is rated for the gastype supplied.□ Confirm that the electricity is supplied from a 120VAC, 60 Hz power source, is in a properlygrounded circuit, and turned on.□ Verify the temperature controller is functioningproperly.□ Verify that switches No. 2 and No. 3 in the SW1DIP switch (tan switches) is set correctly for youraltitude.□ Verify the system is functioning correctly byconnecting your manometer to the gas pressuretest port on the water heater. Operate all gasappliances in the home or facility at high fire. Theinlet gas pressure at the water heater must notdrop below that listed on the rating plate.□ If the water heater is not needed for immediateuse, then drain the water from the heat exchanger.□ Install the front panel.□ Explain to the customer the importance of notblocking the vent termination or air intake.□ Explain to the customer the operation of the waterheater, safety guidelines, maintenance, andwarranty.□ The installation must conform with local codes or,in the absence of local codes, with the NationalFuel Gas Code, ANSI Z223.1/NFPA 54, or theNatural Gas and Propane Installation Code, CSAB149.1.□ Inform the consumer if a water softening system isnot installed.□ Leave the entire manual taped to the waterheater (indoor models), temperature controller(outdoor models), or give the entire manualdirectly to the consumer.17 <strong>Rinnai</strong> <strong>Rack</strong> Installation


