You also want an ePaper? Increase the reach of your titles
YUMPU automatically turns print PDFs into web optimized ePapers that Google loves.
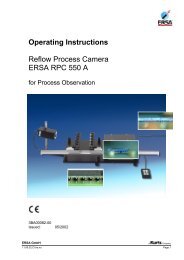
<strong>Operating</strong> <strong>Instructions</strong><br />
ERSA PL 550 A and PL 550 AU<br />
5.1.4 USING THE CAM PRESET<br />
ERSA GmbH<br />
Besides the continuously variable zoom adjustment with the Zoom + and Zoom – buttons,<br />
two predefined zoom settings are also available on each camera. The zoom settings are<br />
attained using the Cam Preset 1 and Cam Preset 2 buttons.<br />
These zoom settings allow the user to change quickly between an overview display and a<br />
detailed view without having to adjust the complete zoom range manually.<br />
5.1.5 MOVING THE COMPONENT INSERTION HEAD AND ADJUSTING THE RPC<br />
ILLUMINATION<br />
Use the Head / Light ↑ and Head / Light ↓ buttons to raise and lower the component<br />
insertion head and to regulate the integrated LED ring light of the camera module. In this<br />
way you can adapt the light intensity to any application.<br />
Change the function by double-clicking (briefly pressing twice) the Head / Light ↑ button<br />
with the Visionbox pushed back (RPC camera enabled).<br />
5.2 PICK UP COMPONENTS<br />
Place the component to be positioned in the<br />
component tray and align it using the grid that has<br />
been moved up.<br />
Center the component tray and component under<br />
the component insertion head (monitoring with the<br />
Visionbox) and then lower the component insertion<br />
head using the motor. (Head / Light ↓ button)<br />
NOTE: For safety reasons keep the given button pressed during the entire lowering or<br />
raising movement.<br />
11.06.02.we.no 3BA00084-00 PL 550A_e.doc Page 17