EN.33.C.14_LK Wireless Room Control Cq 1, 4 & 6 ... - LK Systems AB
EN.33.C.14_LK Wireless Room Control Cq 1, 4 & 6 ... - LK Systems AB
EN.33.C.14_LK Wireless Room Control Cq 1, 4 & 6 ... - LK Systems AB
- No tags were found...

Create successful ePaper yourself
Turn your PDF publications into a flip-book with our unique Google optimized e-Paper software.
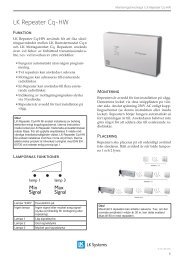
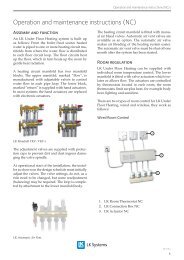
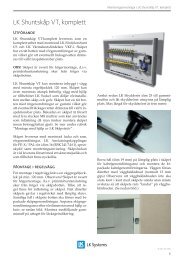
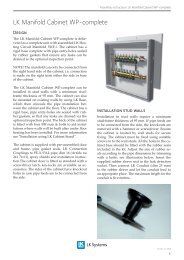
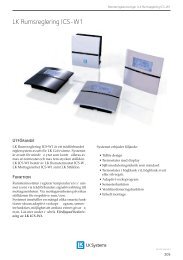
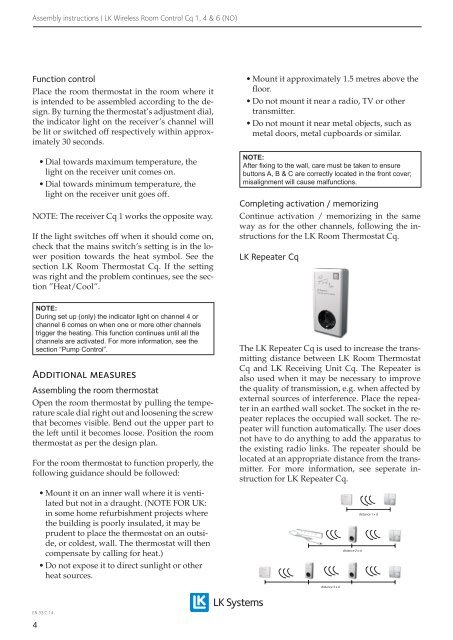
Assembly instructions | <strong>LK</strong> <strong>Wireless</strong> <strong>Room</strong> <strong>Control</strong> <strong>Cq</strong> 1, 4 & 6 (NO)Function controlPlace the room thermostat in the room where itis intended to be assembled according to the design.By turning the thermostat’s adjustment dial,the indicator light on the receiver’s channel willbe lit or switched off respectively within approximately30 seconds.• Dial towards maximum temperature, thelight on the receiver unit comes on.• Dial towards minimum temperature, thelight on the receiver unit goes off.NOTE: The receiver <strong>Cq</strong> 1 works the opposite way.If the light switches off when it should come on,check that the mains switch’s setting is in the lowerposition towards the heat symbol. See thesection <strong>LK</strong> <strong>Room</strong> Thermostat <strong>Cq</strong>. If the settingwas right and the problem continues, see the section”Heat/Cool”.• Mount it approximately 1.5 metres above thefloor.• Do not mount it near a radio, TV or othertransmitter.• Do not mount it near metal objects, such asmetal doors, metal cupboards or similar.NOTE:After fixing to the wall, care must be taken to ensurebuttons A, B & C are correctly located in the front cover;misalignment will cause malfunctions.Completing activation / memorizingContinue activation / memorizing in the sameway as for the other channels, following the instructionsfor the <strong>LK</strong> <strong>Room</strong> Thermostat <strong>Cq</strong>.<strong>LK</strong> Repeater <strong>Cq</strong>NOTE:During set up (only) the indicator light on channel 4 orchannel 6 comes on when one or more other channelstrigger the heating. This function continues until all thechannels are activated. For more information, see thesection “Pump <strong>Control</strong>”.Additional measuresAssembling the room thermostatOpen the room thermostat by pulling the temperaturescale dial right out and loosening the screwthat becomes visible. Bend out the upper part tothe left until it becomes loose. Position the roomthermostat as per the design plan.For the room thermostat to function properly, thefollowing guidance should be followed:The <strong>LK</strong> Repeater <strong>Cq</strong> is used to increase the transmittingdistance between <strong>LK</strong> <strong>Room</strong> Thermostat<strong>Cq</strong> and <strong>LK</strong> Receiving Unit <strong>Cq</strong>. The Repeater isalso used when it may be necessary to improvethe quality of transmission, e.g. when affected byexternal sources of interference. Place the repeaterin an earthed wall socket. The socket in the repeaterreplaces the occupied wall socket. The repeaterwill function automatically. The user doesnot have to do anything to add the apparatus tothe existing radio links. The repeater should belocated at an appropriate distance from the transmitter.For more information, see seperate instructionfor <strong>LK</strong> Repeater <strong>Cq</strong>.• Mount it on an inner wall where it is ventilatedbut not in a draught. (NOTE FOR UK:in some home refurbishment projects wherethe building is poorly insulated, it may beprudent to place the thermostat on an outside,or coldest, wall. The thermostat will thencompensate by calling for heat.)• Do not expose it to direct sunlight or otherheat sources.<strong>EN.33.C.14</strong>.4