to Download the Conversion Kit Manual (PDF) - Suzo-Happ
to Download the Conversion Kit Manual (PDF) - Suzo-Happ
to Download the Conversion Kit Manual (PDF) - Suzo-Happ
- No tags were found...
Create successful ePaper yourself
Turn your PDF publications into a flip-book with our unique Google optimized e-Paper software.
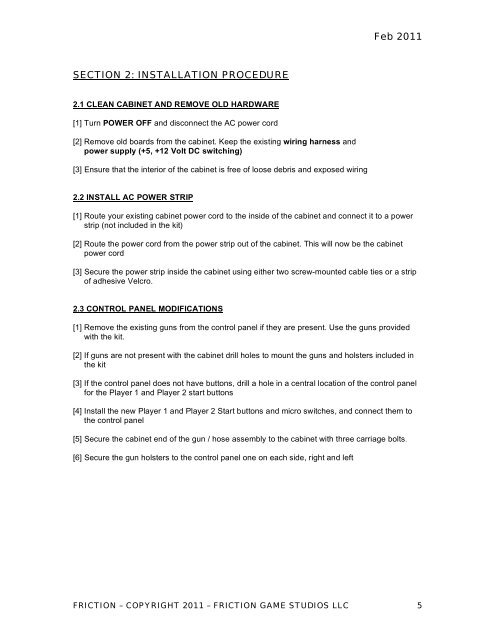
Feb 2011SECTION 2: INSTALLATION PROCEDURE2.1 CLEAN CABINET AND REMOVE OLD HARDWARE[1] Turn POWER OFF and disconnect <strong>the</strong> AC power cord[2] Remove old boards from <strong>the</strong> cabinet. Keep <strong>the</strong> existing wiring harness andpower supply (+5, +12 Volt DC switching)[3] Ensure that <strong>the</strong> interior of <strong>the</strong> cabinet is free of loose debris and exposed wiring2.2 INSTALL AC POWER STRIP[1] Route your existing cabinet power cord <strong>to</strong> <strong>the</strong> inside of <strong>the</strong> cabinet and connect it <strong>to</strong> a powerstrip (not included in <strong>the</strong> kit)[2] Route <strong>the</strong> power cord from <strong>the</strong> power strip out of <strong>the</strong> cabinet. This will now be <strong>the</strong> cabinetpower cord[3] Secure <strong>the</strong> power strip inside <strong>the</strong> cabinet using ei<strong>the</strong>r two screw-mounted cable ties or a stripof adhesive Velcro.2.3 CONTROL PANEL MODIFICATIONS[1] Remove <strong>the</strong> existing guns from <strong>the</strong> control panel if <strong>the</strong>y are present. Use <strong>the</strong> guns providedwith <strong>the</strong> kit.[2] If guns are not present with <strong>the</strong> cabinet drill holes <strong>to</strong> mount <strong>the</strong> guns and holsters included in<strong>the</strong> kit[3] If <strong>the</strong> control panel does not have but<strong>to</strong>ns, drill a hole in a central location of <strong>the</strong> control panelfor <strong>the</strong> Player 1 and Player 2 start but<strong>to</strong>ns[4] Install <strong>the</strong> new Player 1 and Player 2 Start but<strong>to</strong>ns and micro switches, and connect <strong>the</strong>m <strong>to</strong><strong>the</strong> control panel[5] Secure <strong>the</strong> cabinet end of <strong>the</strong> gun / hose assembly <strong>to</strong> <strong>the</strong> cabinet with three carriage bolts.[6] Secure <strong>the</strong> gun holsters <strong>to</strong> <strong>the</strong> control panel one on each side, right and leftFRICTION – COPYRIGHT 2011 – FRICTION GAME STUDIOS LLC 5


