SERVICE BULLETIN - Carrier
SERVICE BULLETIN - Carrier
SERVICE BULLETIN - Carrier
You also want an ePaper? Increase the reach of your titles
YUMPU automatically turns print PDFs into web optimized ePapers that Google loves.
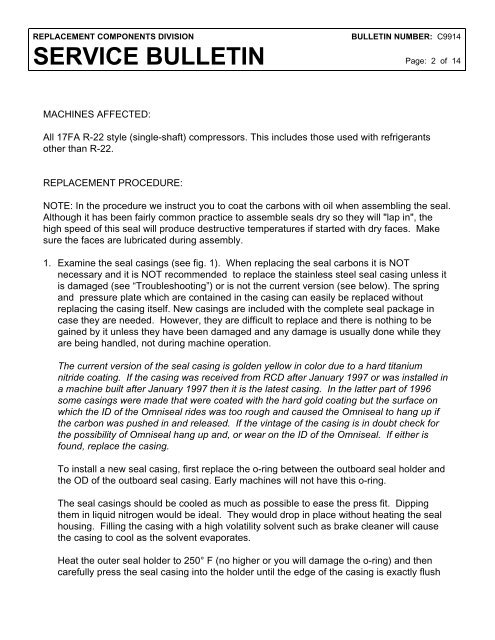
REPLACEMENT COMPONENTS DIVISION<strong>SERVICE</strong> <strong>BULLETIN</strong><strong>BULLETIN</strong> NUMBER: C9914Page: 2 of 14MACHINES AFFECTED:All 17FA R-22 style (single-shaft) compressors. This includes those used with refrigerantsother than R-22.REPLACEMENT PROCEDURE:NOTE: In the procedure we instruct you to coat the carbons with oil when assembling the seal.Although it has been fairly common practice to assemble seals dry so they will "lap in", thehigh speed of this seal will produce destructive temperatures if started with dry faces. Makesure the faces are lubricated during assembly.1. Examine the seal casings (see fig. 1). When replacing the seal carbons it is NOTnecessary and it is NOT recommended to replace the stainless steel seal casing unless itis damaged (see “Troubleshooting”) or is not the current version (see below). The springand pressure plate which are contained in the casing can easily be replaced withoutreplacing the casing itself. New casings are included with the complete seal package incase they are needed. However, they are difficult to replace and there is nothing to begained by it unless they have been damaged and any damage is usually done while theyare being handled, not during machine operation.The current version of the seal casing is golden yellow in color due to a hard titaniumnitride coating. If the casing was received from RCD after January 1997 or was installed ina machine built after January 1997 then it is the latest casing. In the latter part of 1996some casings were made that were coated with the hard gold coating but the surface onwhich the ID of the Omniseal rides was too rough and caused the Omniseal to hang up ifthe carbon was pushed in and released. If the vintage of the casing is in doubt check forthe possibility of Omniseal hang up and, or wear on the ID of the Omniseal. If either isfound, replace the casing.To install a new seal casing, first replace the o-ring between the outboard seal holder andthe OD of the outboard seal casing. Early machines will not have this o-ring.The seal casings should be cooled as much as possible to ease the press fit. Dippingthem in liquid nitrogen would be ideal. They would drop in place without heating the sealhousing. Filling the casing with a high volatility solvent such as brake cleaner will causethe casing to cool as the solvent evaporates.Heat the outer seal holder to 250° F (no higher or you will damage the o-ring) and thencarefully press the seal casing into the holder until the edge of the casing is exactly flush


