

Instruction Manual - GME
Instruction Manual - GME
Instruction Manual - GME
- No tags were found...

Create successful ePaper yourself
Turn your PDF publications into a flip-book with our unique Google optimized e-Paper software.
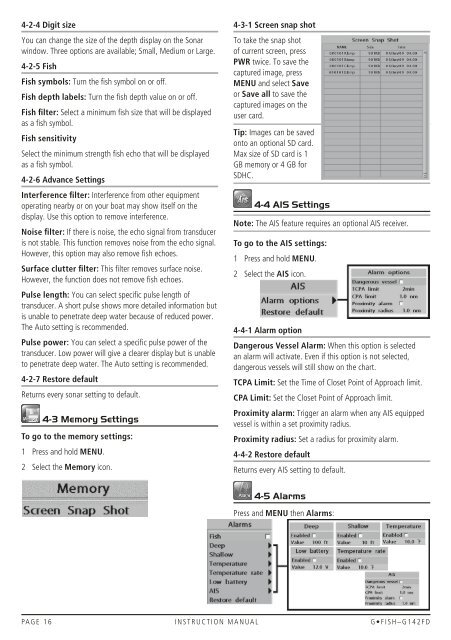
4-2-4 Digit sizeYou can change the size of the depth display on the Sonarwindow. Three options are available; Small, Medium or Large.4-2-5 FishFish symbols: Turn the fish symbol on or off.Fish depth labels: Turn the fish depth value on or off.Fish filter: Select a minimum fish size that will be displayedas a fish symbol.Fish sensitivitySelect the minimum strength fish echo that will be displayedas a fish symbol.4-2-6 Advance SettingsInterference filter: Interference from other equipmentoperating nearby or on your boat may show itself on thedisplay. Use this option to remove interference.Noise filter: If there is noise, the echo signal from transduceris not stable. This function removes noise from the echo signal.However, this option may also remove fish echoes.Surface clutter filter: This filter removes surface noise.However, the function does not remove fish echoes.Pulse length: You can select specific pulse length oftransducer. A short pulse shows more detailed information butis unable to penetrate deep water because of reduced power.The Auto setting is recommended.Pulse power: You can select a specific pulse power of thetransducer. Low power will give a clearer display but is unableto penetrate deep water. The Auto setting is recommended.4-2-7 Restore defaultReturns every sonar setting to default.4-3 Memory SettingsTo go to the memory settings:1 Press and hold MENU.2 Select the Memory icon.4-3-1 Screen snap shotTo take the snap shotof current screen, pressPWR twice. To save thecaptured image, pressMENU and select Saveor Save all to save thecaptured images on theuser card.Tip: Images can be savedonto an optional SD card.Max size of SD card is 1GB memory or 4 GB forSDHC.4-4 AIS SettingsNote: The AIS feature requires an optional AIS receiver.To go to the AIS settings:1 Press and hold MENU.2 Select the AIS icon.4-4-1 Alarm optionDangerous Vessel Alarm: When this option is selectedan alarm will activate. Even if this option is not selected,dangerous vessels will still show on the chart.TCPA Limit: Set the Time of Closet Point of Approach limit.CPA Limit: Set the Closet Point of Approach limit.Proximity alarm: Trigger an alarm when any AIS equippedvessel is within a set proximity radius.Proximity radius: Set a radius for proximity alarm.4-4-2 Restore defaultReturns every AIS setting to default.4-5 AlarmsPress and MENU then Alarms:PA G E 1 6 i n s t r u c t i o n m a n ua l G • F I S H – G 1 4 2 F D


