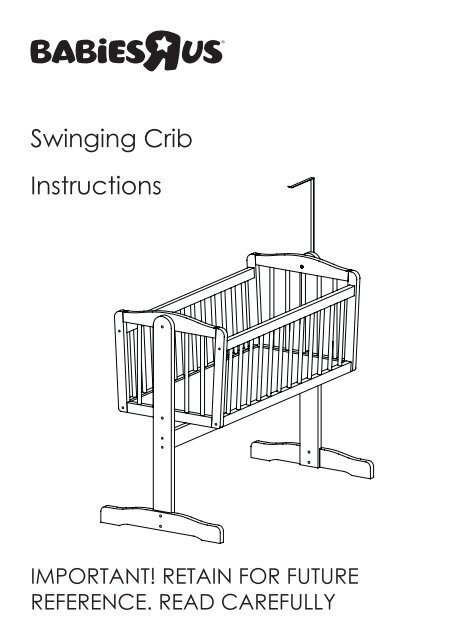
Swinging Crib Instructions - Toys R Us
Swinging Crib Instructions - Toys R Us
Swinging Crib Instructions - Toys R Us
- No tags were found...

You also want an ePaper? Increase the reach of your titles
YUMPU automatically turns print PDFs into web optimized ePapers that Google loves.
7 Positioning the crib body in the frameThe method of attaching the crib body to the frame is shown in section 9.Before attaching the crib body, turn it so the hole in the end panel for the lock toengage into is at the same end as the lock on the frame.Position the crib body between the uprights and support it while it is attached tothe frame. Assistance at this stage will make assembly much easier.note8 Drape rodDecide now if you wish to fit the drape rod.If not, put the drape rod and screw somewhere safe and proceed to section 9.If you do wish to fit the drape rod, take note of how it fits onto the frame uprightwithout the lock, shown in the diagram below.Uprightwithout lock Drape rod<strong>Crib</strong> endPage 5
9 Attaching the crib body to the frame1. Pass one pivot bolt through the holes in the uprights from the outside face.2. Fit the drape rod to the upright without the lock at this point if using.3. Slide a metal washer onto the long bolt on the inside face of each upright.4. Fit spacer to the outside face of the crib end panels.4315. Position the crib body between the uprights and push the pivot bolt through.6. Secure the crib body by sliding in place the metal tubes and screwing T-nutsonto the ends of the pivot bolt from the inside of the crib ends.7. <strong>Us</strong>ing the allen key, tighten the T-nuts to secure the crib body. Store the allenkeys safely as they may be required to tighten fittings occasionally.65<strong>Crib</strong> end6Page 6