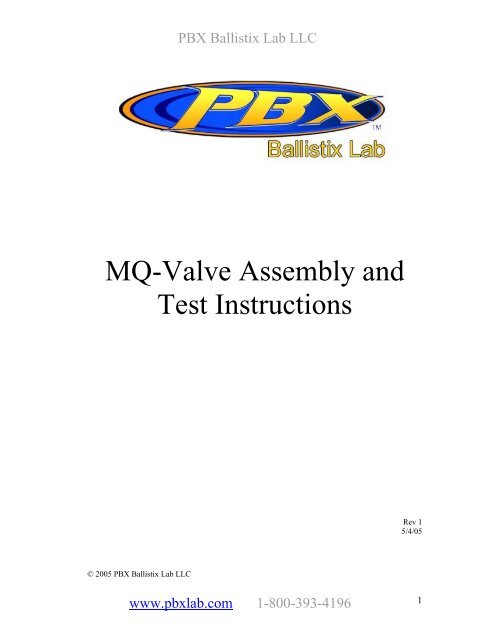
MQ-Valve Assembly and Test Instructions - Mcarterbrown.com
MQ-Valve Assembly and Test Instructions - Mcarterbrown.com
MQ-Valve Assembly and Test Instructions - Mcarterbrown.com

Create successful ePaper yourself
Turn your PDF publications into a flip-book with our unique Google optimized e-Paper software.
PBX Ballistix Lab LLC4. Lock the solenoid in place by threading in the 4-40 set screw.5. Insert the “nail” spacer into the hole of the orifice plate so the “head” of the “nail”sits on the pointy side of the hole.6. Apply a drop of red Locktite or similar high strength thread locking <strong>com</strong>pound tothe threads of the orifice plate.www.pbxlab.<strong>com</strong> 1-800-393-41963
PBX Ballistix Lab LLC7. Screw the orifice plate into the solenoid spacer. Tighten until the “nail” spacerbottoms on the urethane dot on the solenoid plunger (the nail will cease to spinfreely).8. Loosen the orifice plate slightly by twisting the “nail” spacer back <strong>and</strong> forth.9. Remove the solenoid by loosening the 4-40 set screw.10. Remove the nail spacer.11. Put the plunger spring around the solenoid plunger.12. Insert the <strong>com</strong>pleted solenoid assembly back into the spacer / plate assembly <strong>and</strong>lock it down with the 4-40 set screw.13. Allow the thread locker to cure.Note: This procedure is used to precisely set the lift <strong>and</strong> travel of the solenoid plunger inrelation to the raised surface of the orifice plate. Once a spacer is set to a particularsolenoid it should not be used with a different solenoid since the solenoids bodies varyenough to cause rejects.www.pbxlab.<strong>com</strong> 1-800-393-41964
PBX Ballistix Lab LLC<strong>Valve</strong> Body <strong>Assembly</strong>14. Assemble 3/8” OD Buna O-ring onto the body of the poppet.15. Press a 90 durometer urethane O-ring onto the front of groove of the poppet. Thisis ac<strong>com</strong>plished by pressing the poppet down over an o-ring placed on a hardsurface. The o-ring will not go all the way into the groove, but will stay centeredon the end of the poppet.16. Drop the poppet into the O-ring setting die <strong>and</strong> drive the urethane o-ring in placeby utilizing an arbor press or other significant force. Once the poppet bottoms out,do not apply any additional force.www.pbxlab.<strong>com</strong> 1-800-393-41965
PBX Ballistix Lab LLC17. Inspect to ensure the o-ring is seated evenly in the groove.18. Lubricate the poppet with Dow 55 all over. The 3/8” buna o-ring (black) must begenerously covered with grease.19. Insert poppet into valve body, urethane o-ring first.20. Put ½” O-ring on the front of the valve body.21. Press ½” O-ring into the recess at the rear of the valve body.22. Lubricate both the front <strong>and</strong> rear ½” o-rings with Dow 55.www.pbxlab.<strong>com</strong> 1-800-393-41966
PBX Ballistix Lab LLC23. Insert poppet spring behind the poppet.24. Push poppet back <strong>and</strong> forth inside the valve body to make sure the o-ring does notstick<strong>Test</strong> Procedure1. Insert a <strong>com</strong>plete valve into a gun or lower tube equivalent (a T-h<strong>and</strong>le<strong>com</strong>bination of IVG <strong>and</strong> Spacer <strong>com</strong>bo can speed this process)2. Apply 300psi to the gun / test fixture3. Listen for any major leaks. A small leak in the pilot assembly is acceptable at thispoint.4. Apply power to the valve in the form of 4mS, 9V pulses at a rate of 10Hz. A PBXboard set to full auto is sufficient for this process.5. Cycle valve for 2 to 5 seconds. Loud, solid POPs should be heard.6. Listen for leaks. Any leaks may be stopped by cycling the valve for an additional5 to 10 seconds. If this action does not stop the leak, reject the valve.7. Pause then cycle the valve for another second. Listen for leaks.8. Vent pressure from the gun / test fixture, then apply pressure again. A 3-wayvalve is helpful. Listen for leaks. Reject if there is a large leak from the valvebody. This procedure is to test the urethane o-ring face seal.9. Cycle the valve for 1 to 2 seconds. Reject the valve if it leaks.10. Vent pressure from gun / test fixture.www.pbxlab.<strong>com</strong> 1-800-393-41967