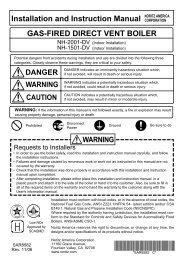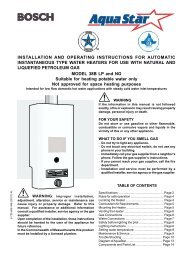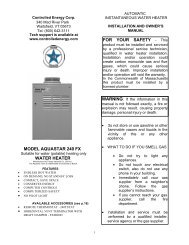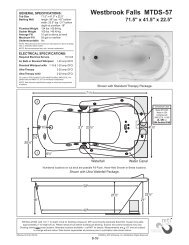
installation and operating instructions for aq-1 and aq-2 power vent ...
installation and operating instructions for aq-1 and aq-2 power vent ...
installation and operating instructions for aq-1 and aq-2 power vent ...

You also want an ePaper? Increase the reach of your titles
YUMPU automatically turns print PDFs into web optimized ePapers that Google loves.
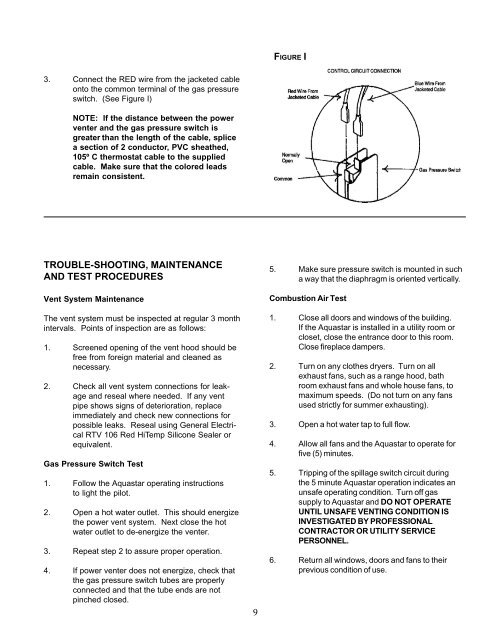
FIGURE I3. Connect the RED wire from the jacketed cableonto the common terminal of the gas pressureswitch. (See Figure I)NOTE: If the distance between the <strong>power</strong><strong>vent</strong>er <strong>and</strong> the gas pressure switch isgreater than the length of the cable, splicea section of 2 conductor, PVC sheathed,105º C thermostat cable to the suppliedcable. Make sure that the colored leadsremain consistent.TROUBLE-SHOOTING, MAINTENANCEAND TEST PROCEDURESVent System MaintenanceThe <strong>vent</strong> system must be inspected at regular 3 monthintervals. Points of inspection are as follows:1. Screened opening of the <strong>vent</strong> hood should befree from <strong>for</strong>eign material <strong>and</strong> cleaned asnecessary.2. Check all <strong>vent</strong> system connections <strong>for</strong> leakage<strong>and</strong> reseal where needed. If any <strong>vent</strong>pipe shows signs of deterioration, replaceimmediately <strong>and</strong> check new connections <strong>for</strong>possible leaks. Reseal using General ElectricalRTV 106 Red HiTemp Silicone Sealer orequivalent.Gas Pressure Switch Test1. Follow the Aquastar <strong>operating</strong> <strong>instructions</strong>to light the pilot.2. Open a hot water outlet. This should energizethe <strong>power</strong> <strong>vent</strong> system. Next close the hotwater outlet to de-energize the <strong>vent</strong>er.3. Repeat step 2 to assure proper operation.4. If <strong>power</strong> <strong>vent</strong>er does not energize, check thatthe gas pressure switch tubes are properlyconnected <strong>and</strong> that the tube ends are notpinched closed.95. Make sure pressure switch is mounted in sucha way that the diaphragm is oriented vertically.Combustion Air Test1. Close all doors <strong>and</strong> windows of the building.If the Aquastar is installed in a utility room orcloset, close the entrance door to this room.Close fireplace dampers.2. Turn on any clothes dryers. Turn on allexhaust fans, such as a range hood, bathroom exhaust fans <strong>and</strong> whole house fans, tomaximum speeds. (Do not turn on any fansused strictly <strong>for</strong> summer exhausting).3. Open a hot water tap to full flow.4. Allow all fans <strong>and</strong> the Aquastar to operate <strong>for</strong>five (5) minutes.5. Tripping of the spillage switch circuit duringthe 5 minute Aquastar operation indicates anunsafe <strong>operating</strong> condition. Turn off gassupply to Aquastar <strong>and</strong> DO NOT OPERATEUNTIL UNSAFE VENTING CONDITION ISINVESTIGATED BY PROFESSIONALCONTRACTOR OR UTILITY SERVICEPERSONNEL.6. Return all windows, doors <strong>and</strong> fans to theirprevious condition of use.