P.E. Lambda 35 UV/VIS Spectrophotometer
P.E. Lambda 35 UV/VIS Spectrophotometer
P.E. Lambda 35 UV/VIS Spectrophotometer

You also want an ePaper? Increase the reach of your titles
YUMPU automatically turns print PDFs into web optimized ePapers that Google loves.
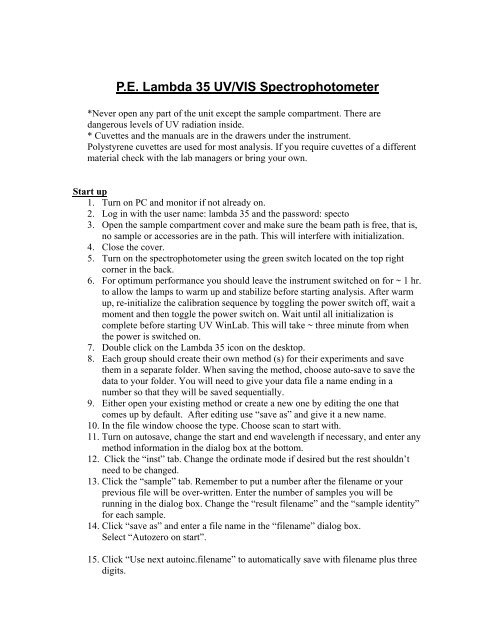
P.E. <strong>Lambda</strong> <strong>35</strong> <strong>UV</strong>/<strong>VIS</strong> <strong>Spectrophotometer</strong>*Never open any part of the unit except the sample compartment. There aredangerous levels of <strong>UV</strong> radiation inside.* Cuvettes and the manuals are in the drawers under the instrument.Polystyrene cuvettes are used for most analysis. If you require cuvettes of a differentmaterial check with the lab managers or bring your own.Start up1. Turn on PC and monitor if not already on.2. Log in with the user name: lambda <strong>35</strong> and the password: specto3. Open the sample compartment cover and make sure the beam path is free, that is,no sample or accessories are in the path. This will interfere with initialization.4. Close the cover.5. Turn on the spectrophotometer using the green switch located on the top rightcorner in the back.6. For optimum performance you should leave the instrument switched on for ~ 1 hr.to allow the lamps to warm up and stabilize before starting analysis. After warmup, re-initialize the calibration sequence by toggling the power switch off, wait amoment and then toggle the power switch on. Wait until all initialization iscomplete before starting <strong>UV</strong> WinLab. This will take ~ three minute from whenthe power is switched on.7. Double click on the <strong>Lambda</strong> <strong>35</strong> icon on the desktop.8. Each group should create their own method (s) for their experiments and savethem in a separate folder. When saving the method, choose auto-save to save thedata to your folder. You will need to give your data file a name ending in anumber so that they will be saved sequentially.9. Either open your existing method or create a new one by editing the one thatcomes up by default. After editing use “save as” and give it a new name.10. In the file window choose the type. Choose scan to start with.11. Turn on autosave, change the start and end wavelength if necessary, and enter anymethod information in the dialog box at the bottom.12. Click the “inst” tab. Change the ordinate mode if desired but the rest shouldn’tneed to be changed.13. Click the “sample” tab. Remember to put a number after the filename or yourprevious file will be over-written. Enter the number of samples you will berunning in the dialog box. Change the “result filename” and the “sample identity”for each sample.14. Click “save as” and enter a file name in the “filename” dialog box.Select “Autozero on start”.15. Click “Use next autoinc.filename” to automatically save with filename plus threedigits.
Scanning a sample:1. Place a polystyrene cuvette containing DI water in the reference cell (rear).Close the cover.2. Click “start”. The instrument autozeros then a blank sample is requested.3. Place the other cuvette containing just DI water in the sample cell holder(front) and close the cover.4. Click “OK”. Background correction is performed (which takes a while) andthen the sample is requested.5. Empty the sample cell and re-fill it with your unknown.6. Place the sample cell back in the holder and close the cover.7. Click “OK”. During the analysis the current readings are shown on the livedisplay at the bottom of the window. When the scan is complete the spectrumis displayed in the Graph 1 window.Shut Down1. Close down <strong>UV</strong> WinLab2. Open the sample compartment cover and remove samples and cells.3. Clean up cells and any spills.4. Close the sample compartment cover.5. Switch off the spectrophometer.