You also want an ePaper? Increase the reach of your titles
YUMPU automatically turns print PDFs into web optimized ePapers that Google loves.
Following example demonstrates how you can use a theme for an application. For demo purpose we will modify<br />
our default AppTheme wehere default text, its size, family, shadow etc will be changed. Let's start with creating a<br />
simple <strong>Android</strong> application as per the following steps:<br />
Step<br />
1<br />
Description<br />
You will use Eclipse IDE to create an <strong>Android</strong> application and name it as ThemeDemo under a<br />
package com.example.themedemo as explained in the Hello World Example chapter.<br />
2 Modify src/MainActivity.java file to add click event listeners and handlers for the two buttons defined.<br />
3<br />
4<br />
Define your style in global style file res/values/style.xml to define custom attributes for a button and<br />
change default theme of the application to play with the text.<br />
Modify the detault content of res/layout/activity_main.xml file to include a set of <strong>Android</strong> UI controls and<br />
make use of the defined style.<br />
5 Define required constants in res/values/strings.xml file<br />
6 Run the application to launch <strong>Android</strong> emulator and verify the result of the changes done in the aplication.<br />
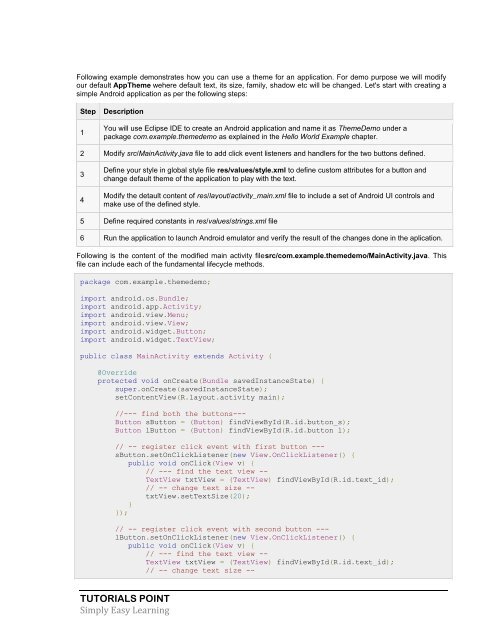
Following is the content of the modified main activity filesrc/com.example.themedemo/MainActivity.java. This<br />
file can include each of the fundamental lifecycle methods.<br />
package com.example.themedemo;<br />
import android.os.Bundle;<br />
import android.app.Activity;<br />
import android.view.Menu;<br />
import android.view.View;<br />
import android.widget.Button;<br />
import android.widget.TextView;<br />
public class MainActivity extends Activity {<br />
@Override<br />
protected void onCreate(Bundle savedInstanceState) {<br />
super.onCreate(savedInstanceState);<br />
setContentView(R.layout.activity_main);<br />
//--- find both the buttons---<br />
Button sButton = (Button) findViewById(R.id.button_s);<br />
Button lButton = (Button) findViewById(R.id.button_l);<br />
// -- register click event with first button ---<br />
sButton.setOnClickListener(new View.OnClickListener() {<br />
public void onClick(View v) {<br />
// --- find the text view --<br />
TextView txtView = (TextView) findViewById(R.id.text_id);<br />
// -- change text size --<br />
txtView.setTextSize(20);<br />
}<br />
});<br />
// -- register click event with second button ---<br />
lButton.setOnClickListener(new View.OnClickListener() {<br />
public void onClick(View v) {<br />
// --- find the text view --<br />
TextView txtView = (TextView) findViewById(R.id.text_id);<br />
// -- change text size --<br />
TUTORIALS POINT<br />
Simply Easy Learning


