EBDSPIR-PRM-VFC & EBDSPIR-PRM-VFC-NC
EBDSPIR-PRM-VFC product guide - CP Electronics
EBDSPIR-PRM-VFC product guide - CP Electronics
- No tags were found...

You also want an ePaper? Increase the reach of your titles
YUMPU automatically turns print PDFs into web optimized ePapers that Google loves.
Installation<br />
Choosing a Suitable Location<br />
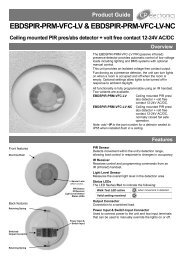
The <strong>EBDSPIR</strong>-<strong>PRM</strong>-<strong>VFC</strong> is designed to be ceiling mounted and must satisfy the following criteria:<br />
Avoid positioning the unit where direct sunlight may enter the sensor element.<br />
Do not site the sensor within 1m of any lighting, forced air heating or ventilation.<br />
Do not fix the sensor to an unstable or vibrating surface.<br />
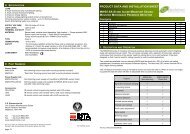
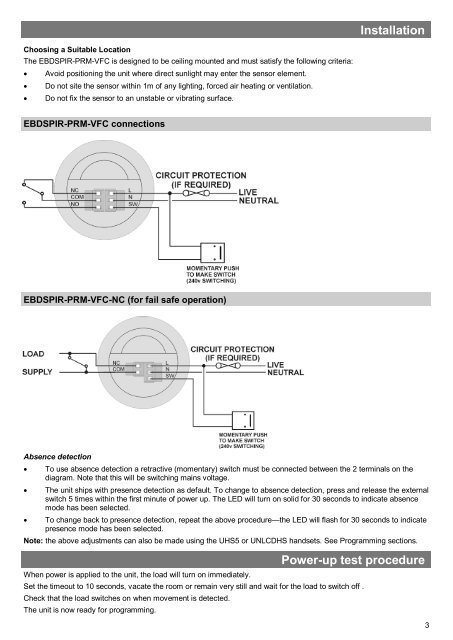
<strong>EBDSPIR</strong>-<strong>PRM</strong>-<strong>VFC</strong> connections<br />
<strong>EBDSPIR</strong>-<strong>PRM</strong>-<strong>VFC</strong>-<strong>NC</strong> (for fail safe operation)<br />
Absence detection<br />
<br />
<br />
<br />
To use absence detection a retractive (momentary) switch must be connected between the 2 terminals on the<br />
diagram. Note that this will be switching mains voltage.<br />
The unit ships with presence detection as default. To change to absence detection, press and release the external<br />
switch 5 times within the first minute of power up. The LED will turn on solid for 30 seconds to indicate absence<br />
mode has been selected.<br />
To change back to presence detection, repeat the above procedure—the LED will flash for 30 seconds to indicate<br />
presence mode has been selected.<br />
Note: the above adjustments can also be made using the UHS5 or UNLCDHS handsets. See Programming sections.<br />
When power is applied to the unit, the load will turn on immediately.<br />
Set the timeout to 10 seconds, vacate the room or remain very still and wait for the load to switch off .<br />
Check that the load switches on when movement is detected.<br />
The unit is now ready for programming.<br />
Power-up test procedure<br />
3