
You also want an ePaper? Increase the reach of your titles
YUMPU automatically turns print PDFs into web optimized ePapers that Google loves.
SIDE section Control Elements<br />
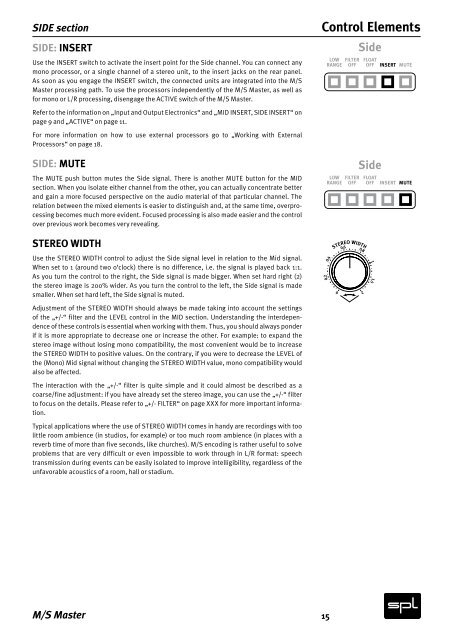
SIDE: INSERT<br />
Use the INSERT switch to activate the insert point for the Side channel. You can connect any<br />
mono processor, or a single channel of a stereo unit, to the insert jacks on the rear panel.<br />
As soon as you engage the INSERT switch, the connected units are integrated into the M/S<br />
<strong>Master</strong> processing path. To use the processors independently of the M/S <strong>Master</strong>, as well as<br />
for mono or L/R processing, disengage the ACTIVE switch of the M/S <strong>Master</strong>.<br />
Refer to the information on „Input and Output Electronics“ and „MID INSERT, SIDE INSERT“ on<br />
page 9 and „ACTIVE“ on page 11.<br />
For more information on how to use external processors go to „Working with External<br />
Processors“ on page 18.<br />
SIDE: MUTE<br />
The MUTE push button mutes the Side signal. There is another MUTE button for the MID<br />
section. When you isolate either channel from the other, you can actually concentrate better<br />
and gain a more focused perspective on the audio material of that particular channel. The<br />
relation between the mixed elements is easier to distinguish and, at the same time, overprocessing<br />
becomes much more evident. Focused processing is also made easier and the control<br />
over previous work becomes very revealing.<br />
STEREO WIDTH<br />
Use the STEREO WIDTH control to adjust the Side signal level in relation to the Mid signal.<br />
When set to 1 (around two o‘clock) there is no difference, i.e. the signal is played back 1:1.<br />
As you turn the control to the right, the Side signal is made bigger. When set hard right (2)<br />
the stereo image is 200% wider. As you turn the control to the left, the Side signal is made<br />
smaller. When set hard left, the Side signal is muted.<br />
Adjustment of the STEREO WIDTH should always be made taking into account the settings<br />
of the „+/-“ filter and the LEVEL control in the MID section. Understanding the interdependence<br />
of these controls is essential when working with them. Thus, you should always ponder<br />
if it is more appropriate to decrease one or increase the other. For example: to expand the<br />
stereo image without losing mono compatibility, the most convenient would be to increase<br />
the STEREO WIDTH to positive values. On the contrary, if you were to decrease the LEVEL of<br />
the (Mono) Mid signal without changing the STEREO WIDTH value, mono compatibility would<br />
also be affected.<br />
The interaction with the „+/-“ filter is quite simple and it could almost be described as a<br />
coarse/fine adjustment: if you have already set the stereo image, you can use the „+/-“ filter<br />
to focus on the details. Please refer to „+/- FILTER“ on page XXX for more important information.<br />
Typical applications where the use of STEREO WIDTH comes in handy are recordings with too<br />
little room ambience (in studios, for example) or too much room ambience (in places with a<br />
reverb time of more than five seconds, like churches). M/S encoding is rather useful to solve<br />
problems that are very difficult or even impossible to work through in L/R format: speech<br />
transmission during events can be easily isolated to improve intelligibility, regardless of the<br />
unfavorable acoustics of a room, hall or stadium.<br />
M/S <strong>Master</strong><br />
15<br />
Side<br />
LOW FLOAT<br />
RANGE OFF INSERT<br />
FILTER<br />
OFF MUTE<br />
Side<br />
LOW FLOAT<br />
RANGE OFF INSERT<br />
FILTER<br />
OFF MUTE<br />
STEREO WIDTH<br />
0 0.2 0.4 0.6 0.8 1 1.5 2